In this post, I'll show how to use the offset tool in cricut design space!
I use the offset tool to decorate some of my favor boxes and cake toppers!
For the tutorial, I'm going to show your first how to use the offset for shapes, then text and images!
Video Tutorial
Shapes
1. Click on shapes at the right panel, then choose a shape. I'm choosing a star! ⭐
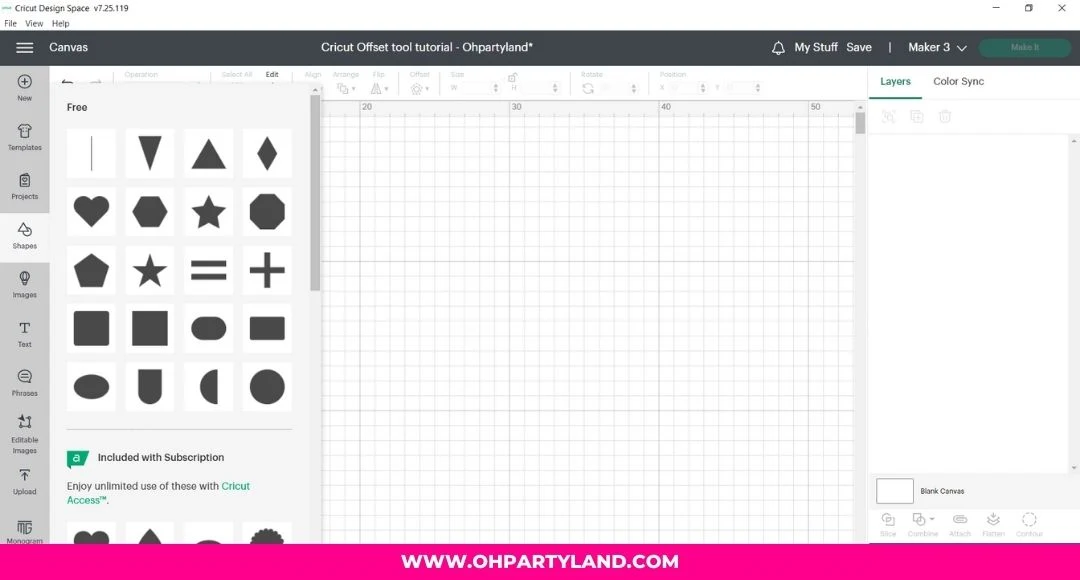
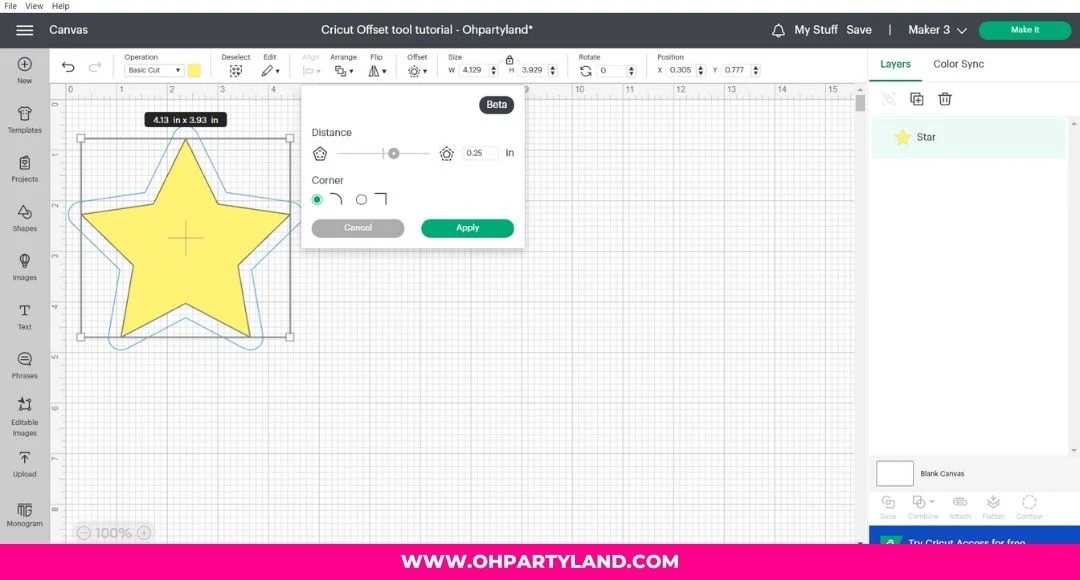
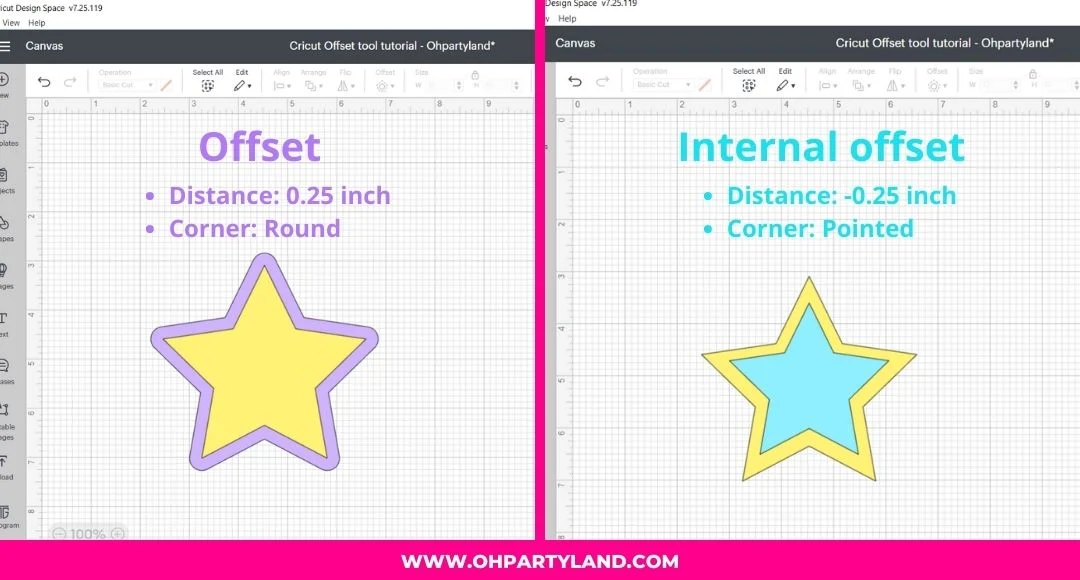
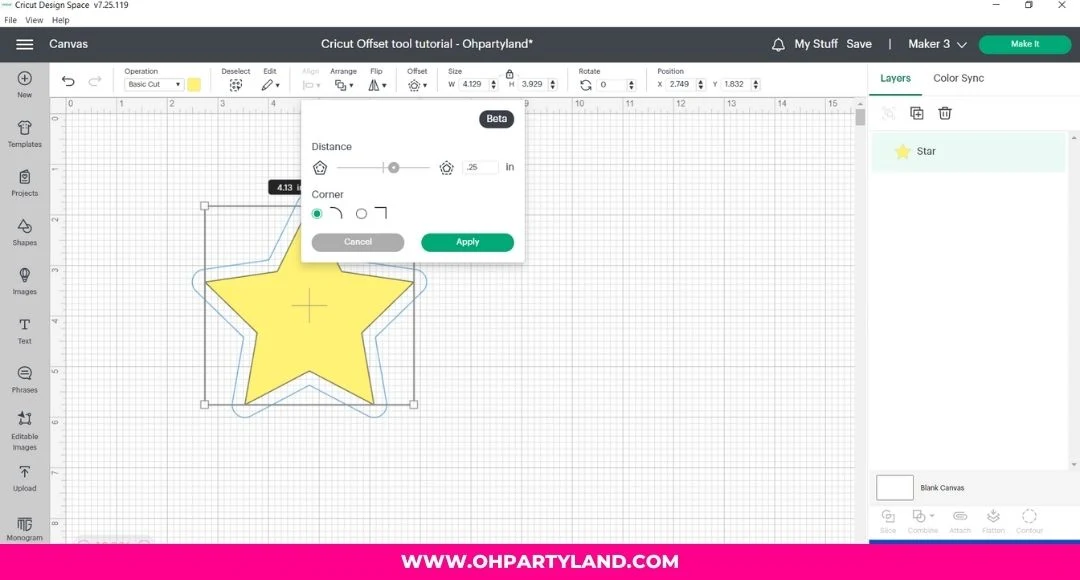
2. Then, go to the top bar and click on the "Offset tool". You can see there are two features: Distance and corner.
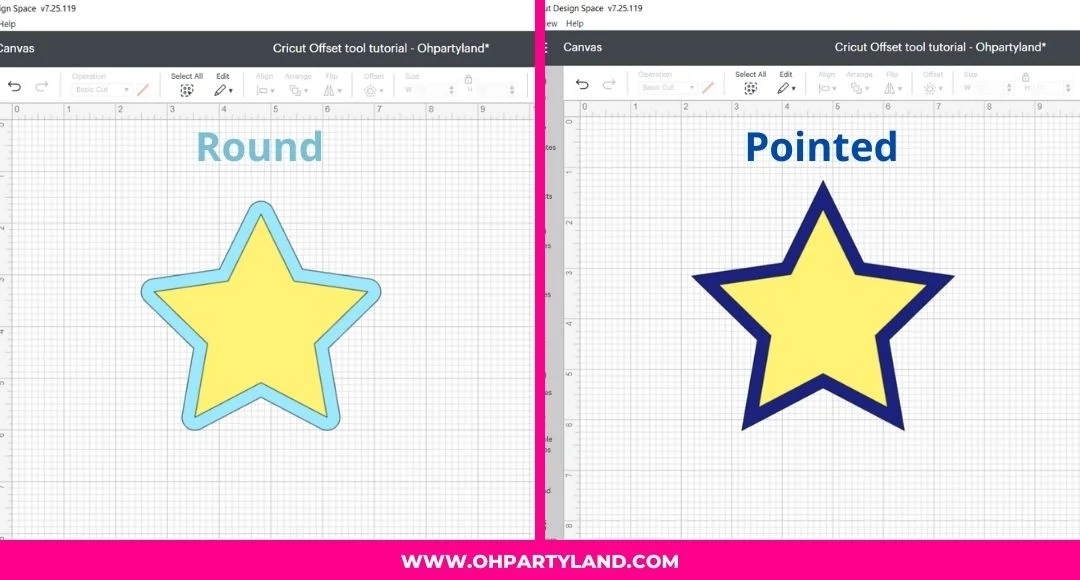
- Corner feature: There are two styles round or pointed.
- Distance feature: By default, the tool is going to choose an offset of 0.25 inch, which is like a background.
But if you move the circle to the left or change the number to -0.25 inch or any negative number, you can get an internal offset.
3. After you choose your distance and corner, don't forget to click the button "Apply"
4. Finally, here is my star with an offset and internal offset!
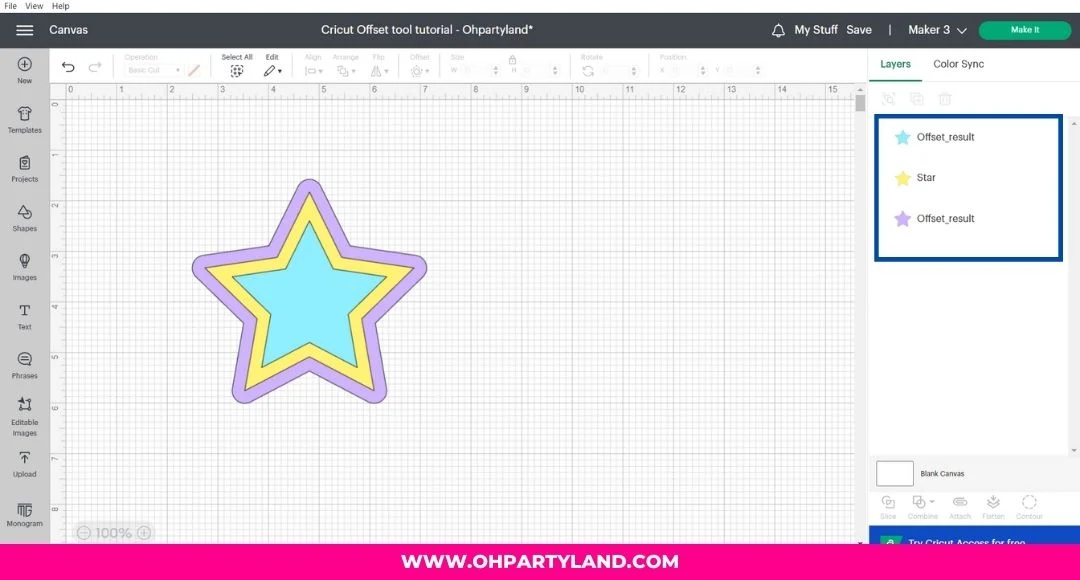
I like to use this tool to make text layers and also for the print and cut images!
I really like the way they look because it's like a background and using foam tape, it gives a 3D effect! So hope you like the tutorial! 🤗


Post a Comment