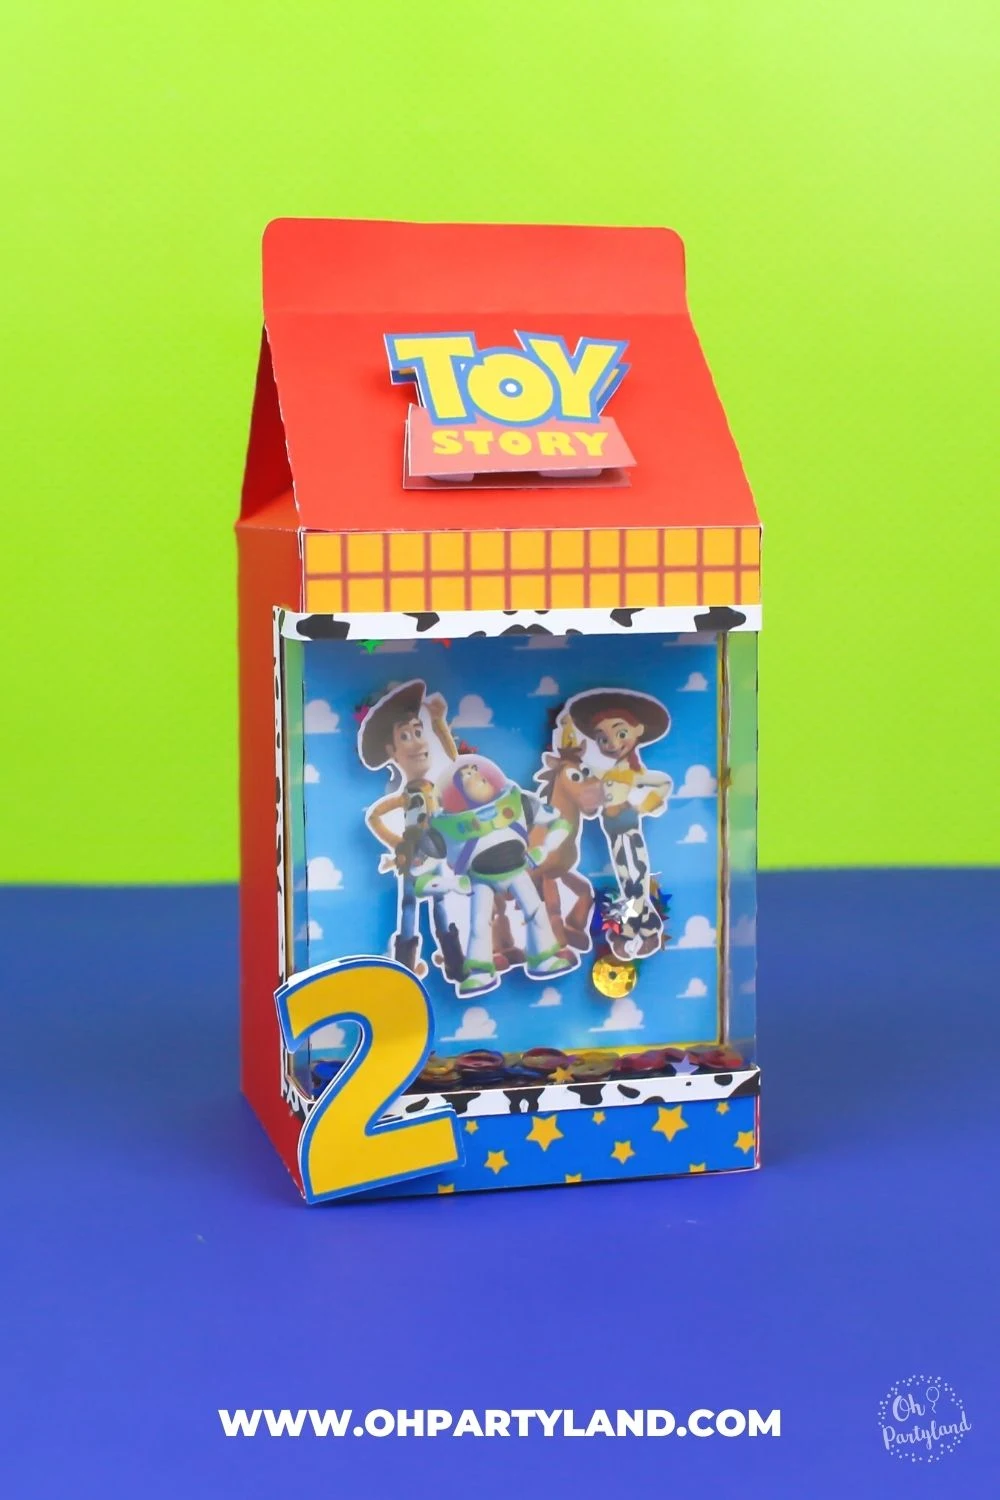
Hi everyone!
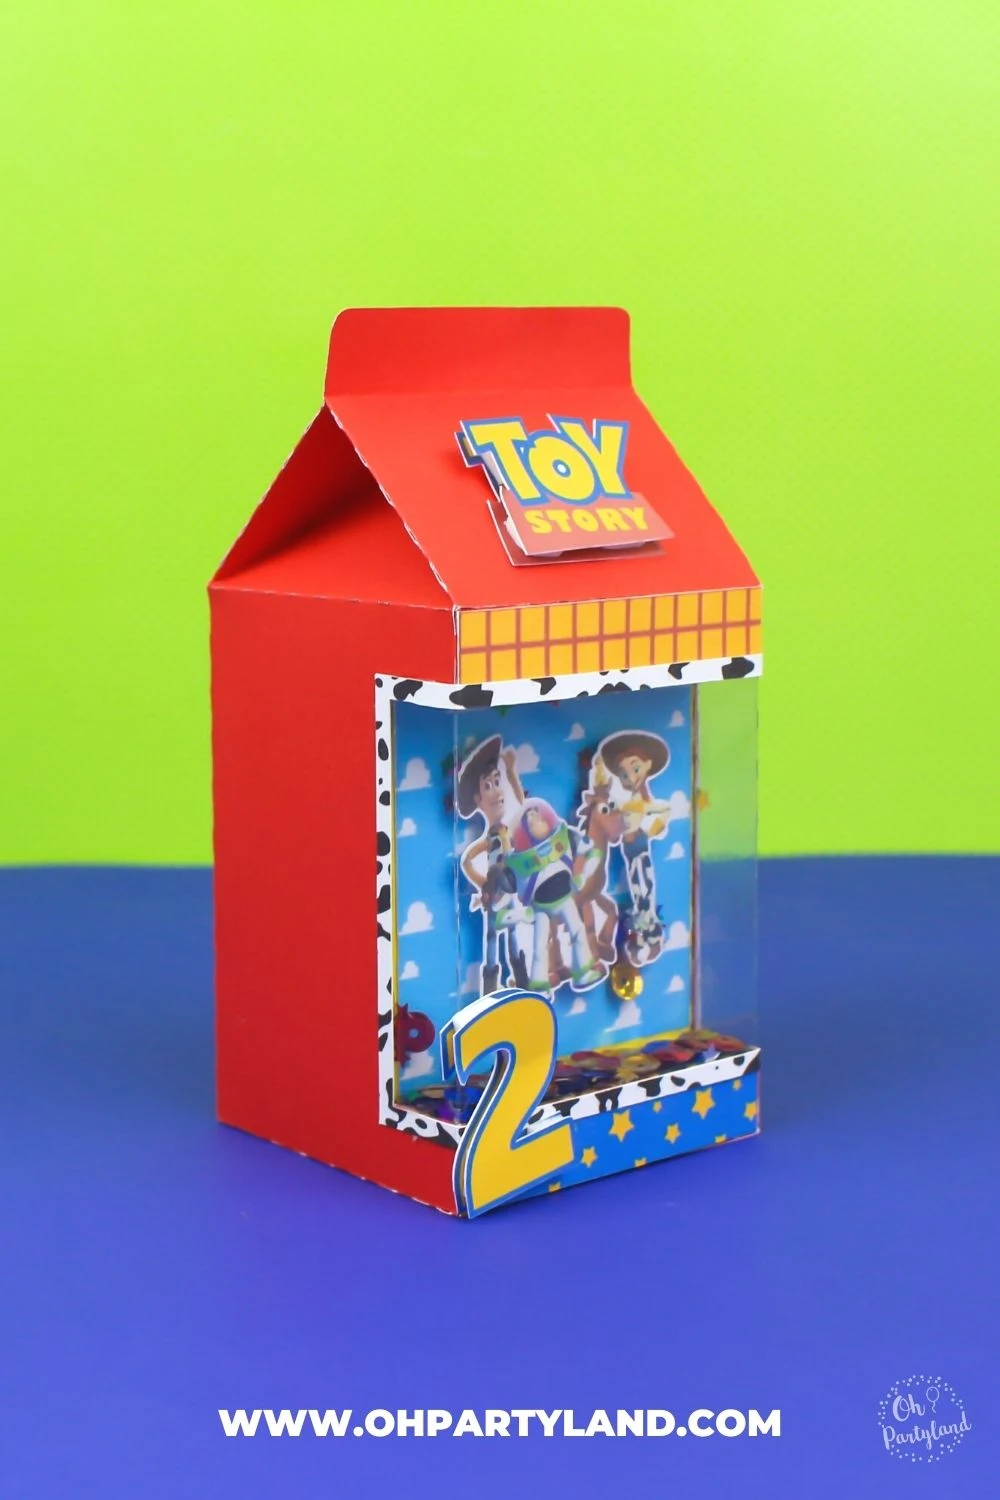
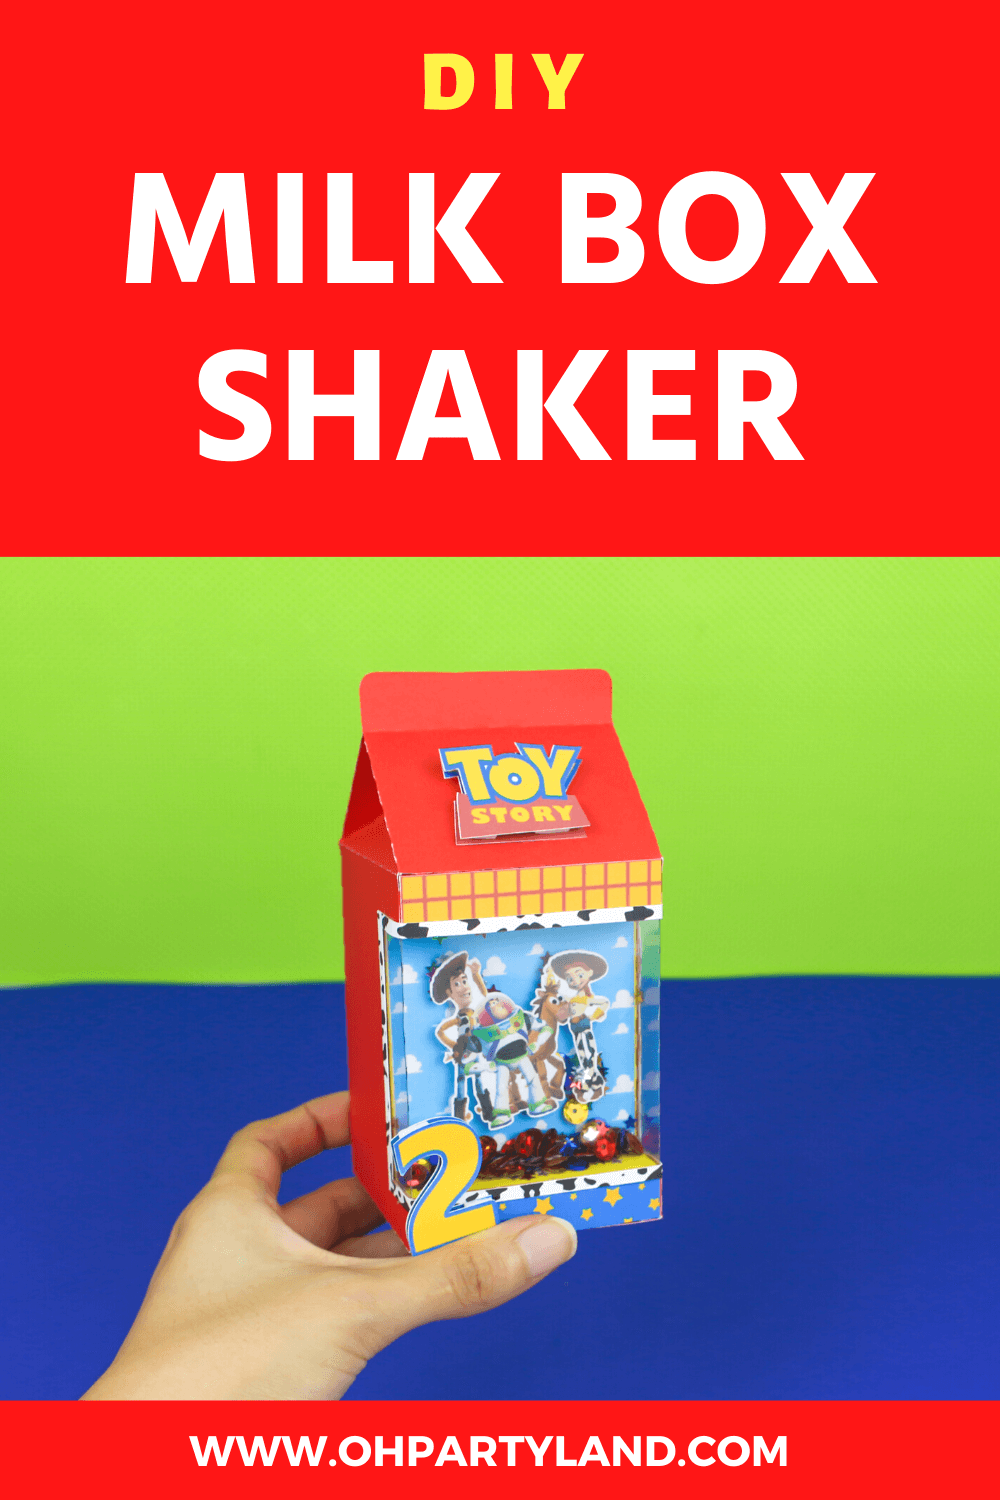
Today, I’m making a shaker milk box! This box is so
easy to make and you can customize the box in many different ways!
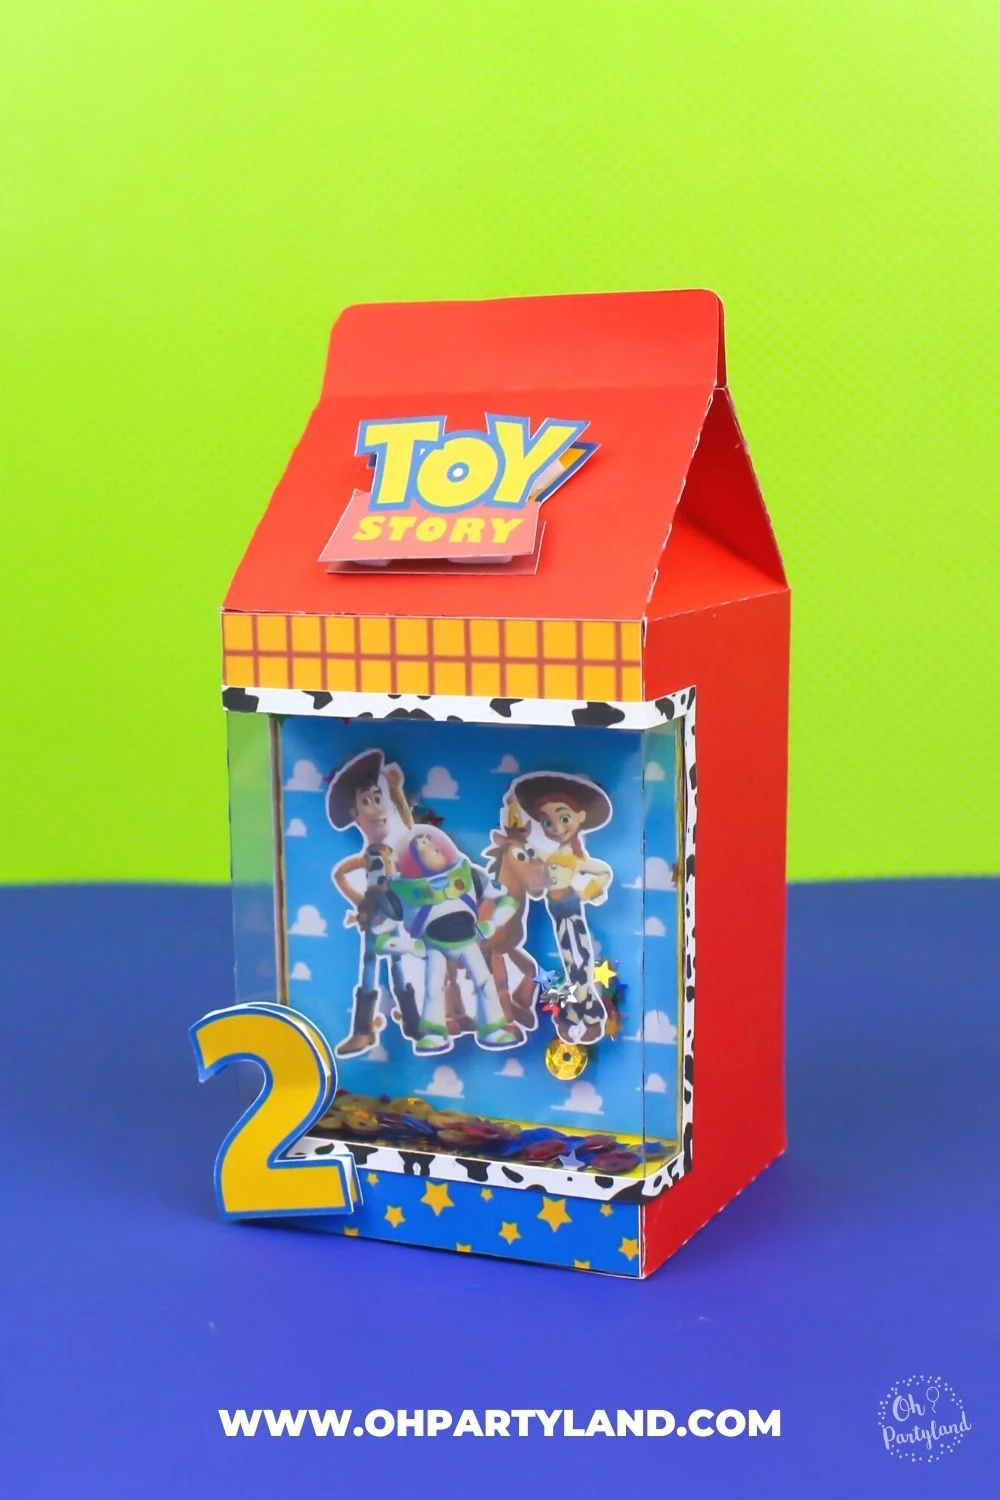
You could use the box as a favor box to send home with
your guest, you just need to customize your shaker box with your favorite party theme.
Also, If you are not hosting a party, you could use the
shaker milk box as a gift box!
This post may contains affiliate links. See my
disclosure policy for more information.
- Cardstock (Colors of your choice)
- Acetate sheet
- Double side adhesive tape
- Cutting machine or Scissors
- Sequins
- Silicone glue or silicona liquida (Similar one)
- Foam tape (Optional)
HOW TO CUT THE TEMPLATES
You can cut the templates by hand or use a cutting machine such as Cricut or Silhouette Cameo.
CRICUT
- Upload the SVG file in Cricut Design space.
- If you have a scoring wheel or scoring stylus, make sure to use the SVG files with solid lines and remember to set up the score lines, before sending to cut. Check out my tutorial to learn how to set up score lines in cricut design design space.
- The SVG with dashed lines are intended to be cut, so you don’t need any scoring tool.
SILHOUETTE CAMEO
- If you use a silhouette machine, make sure to open the DXF file with dashed lines in silhouette studio. Please check out the import preferences to Open "As is".
BY HAND
If you cut by hand, I recommend using the PDF files.
1. Print out the shaker milk box template on cardstock. Note: You’ll need to print out the acetate window template on paper, then trace onto acetate.
2. Cut out the shaker milk box with scissors and craft knife.
3. Score along the dashed lines using a ruler and bone folder.
4. Fold all scored edges.
5. Assemble the box as shown in the video linked below.
6. Fill the box with your favorite treats!
TIP: You can also print all the pieces of the template on paper, then trace onto cardstock and acetate and cut them out.
- The files come in a zipped folder, you need to unzip or extract the files to your computer.
On a Windows PC, right click the zipped folder and choose Extract Here or Extract All. On a Mac, just double click the zipped folder to unzip it.
- The files come in a zipped folder, you need to unzip or extract the files to your computer.
On a Windows PC, right click the zipped folder and choose Extract Here or Extract All. On a Mac, just double click the zipped folder to unzip it.
- For best results, I recommend 80 lb / 216 gsm up to 100 lb / 270 gsm cardstock.
- You could use sequins, beads or confetti to make the shaker part.
- Instead of glue, you could use double side adhesive tape.
HOW TO ASSEMBLE THE SHAKER MILK BOX
FIND SHAKER MILK BOX TEMPLATE
Shaker milk box template comes in 4 formats (SVG, DXF, PNG and PDF file) and it can be used in cutting machines, such as Cricut or Silhouette Cameo.
Also, the template includes solid and dashed score lines.
Please note this is a BLANK TEMPLATE, does not include the images or pattern. These are just to give you examples of the fun things yo can do with Shaker milk bo template. You can find the template in my Etsy Store.
Click here to find the Shaker Milk Box Template
I love how this shaker milk box turned out! I really
enjoyed making the box and I hope you like this idea!
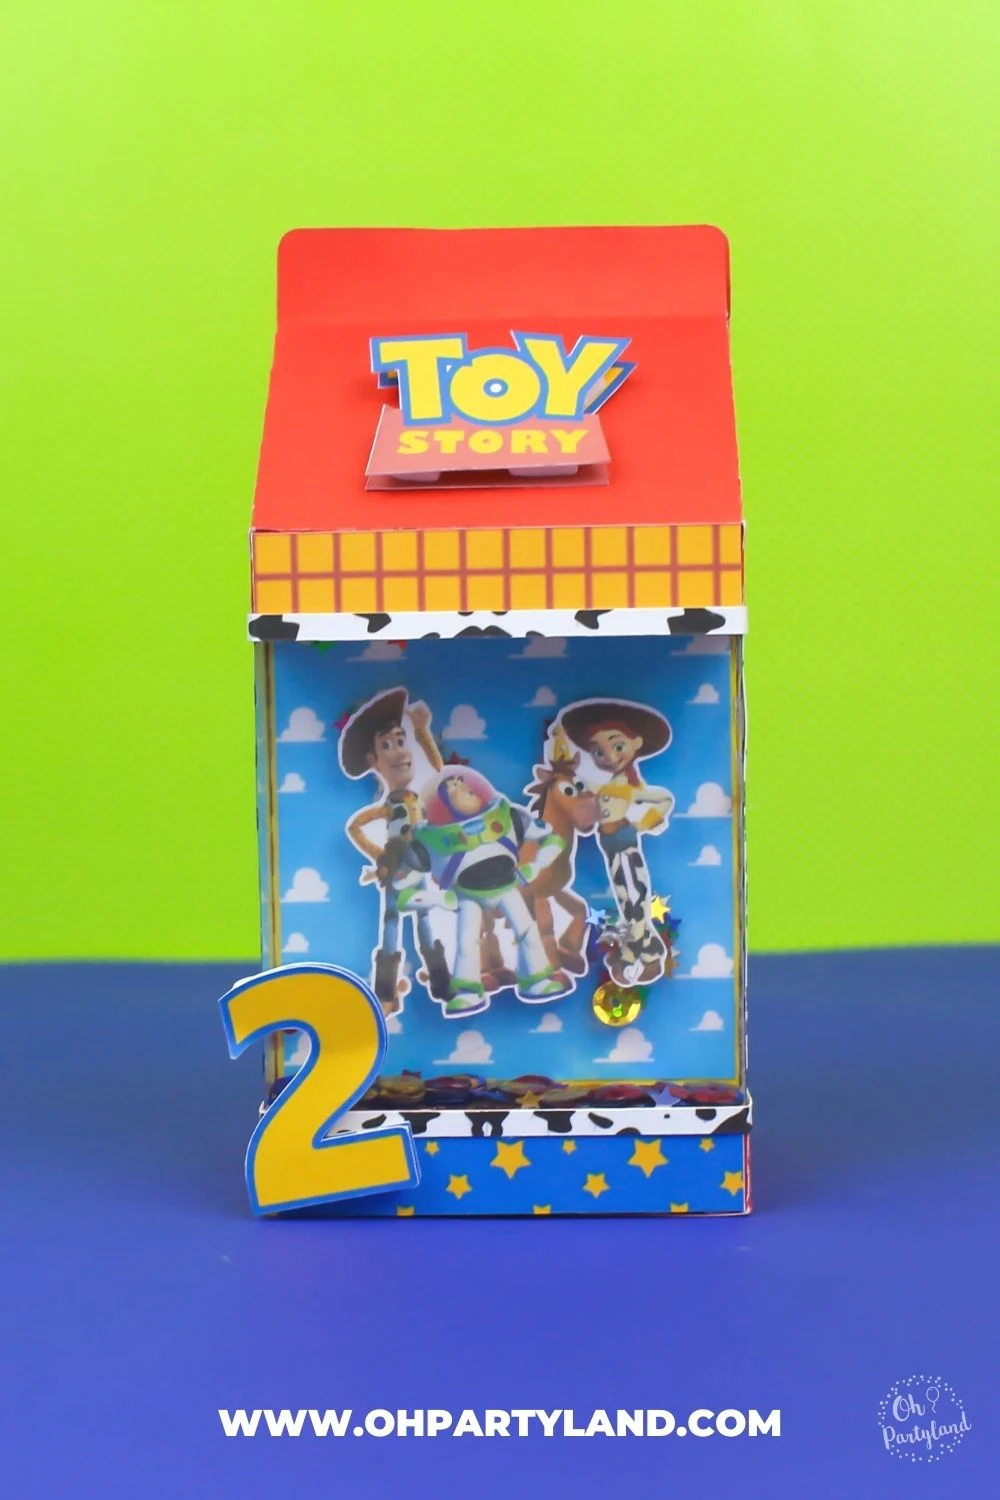
See you in the next DIY!


Hi! I was wondering if this could be made larger and keep its dimensions if I were to put it in Cricut?
ReplyDeleteHello! Yes, you can make the box bigger in Cricut design, but you need to select all the pieces of the template to resize them. If you have any questions, I will be happy to help you! :)
DeleteWhat type of glue is used?
ReplyDeleteHello! I used clear craft glue. A similar one would be the Beacon craft glue, you can find it at the dollar tree or amazon
DeleteWHAT ARE THE DIMENSIONS OF THE ONE YOU DID IN THE EXAMPLE?
ReplyDeleteHi! These are the dimensions of the finished shaker milk box:
DeleteHeight: 5.31 inches approx.
Length: 2.55 inches approx.
If you have any questions, feel free to ask! :)