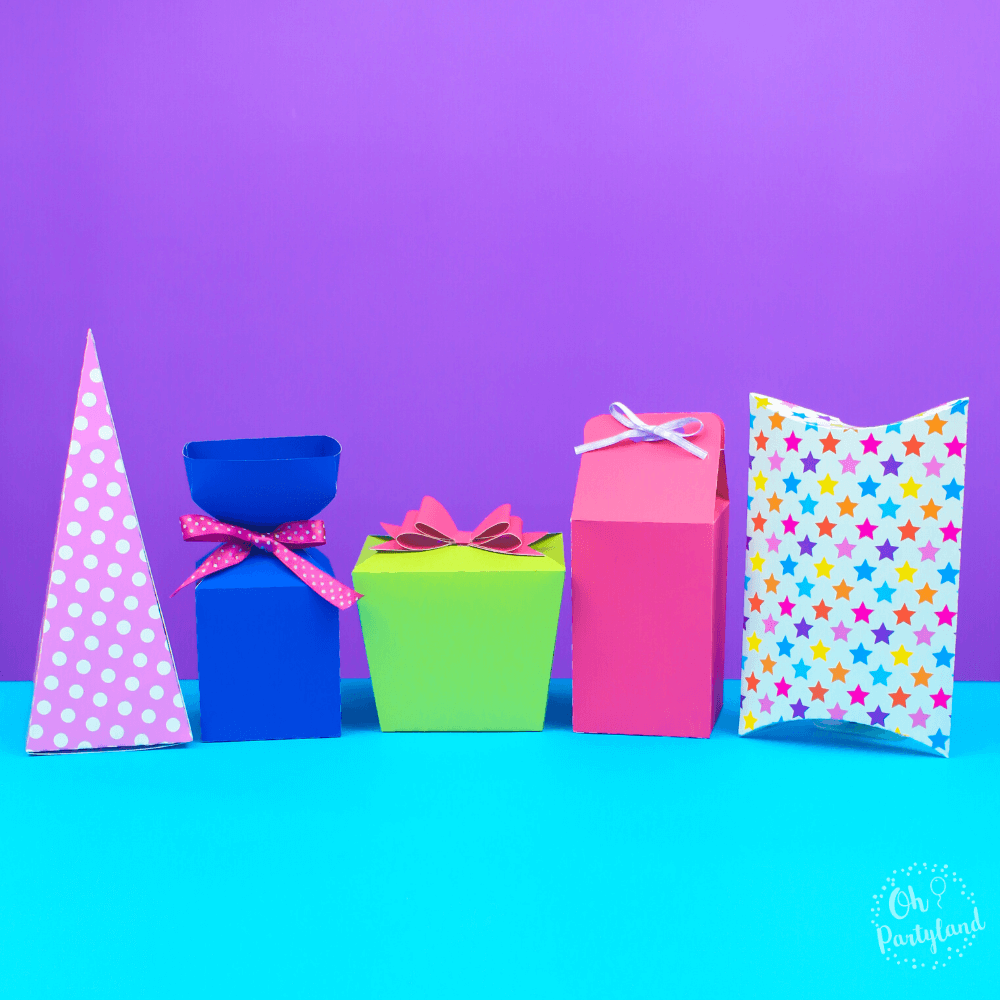
Hi guys! In today’s post, I’ll show you how to make gift boxes!
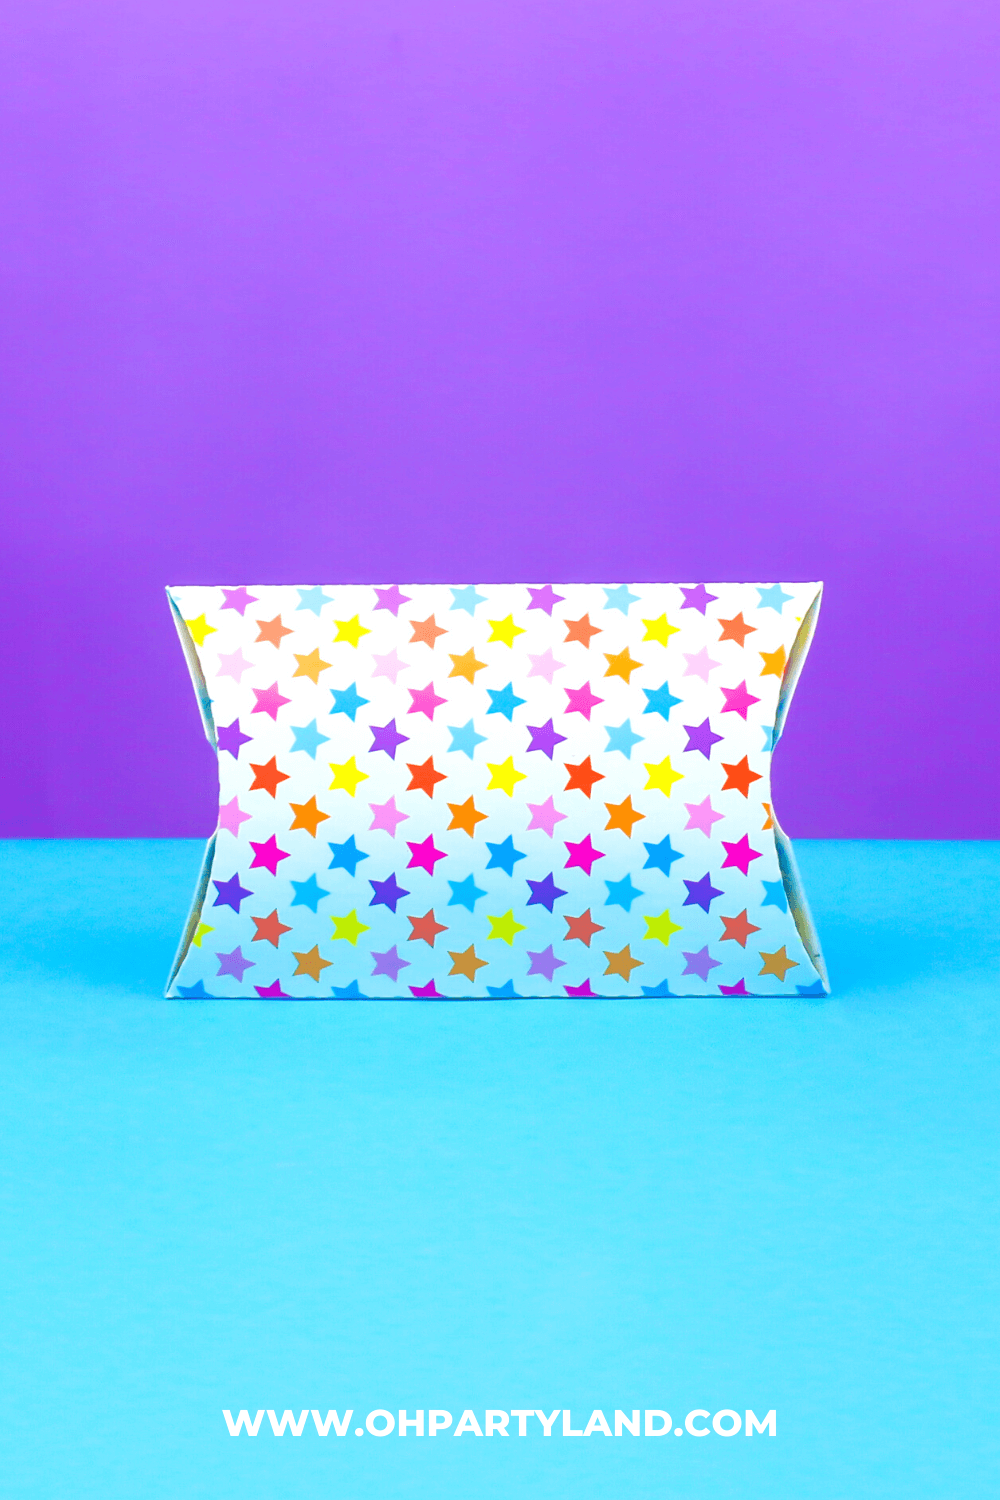
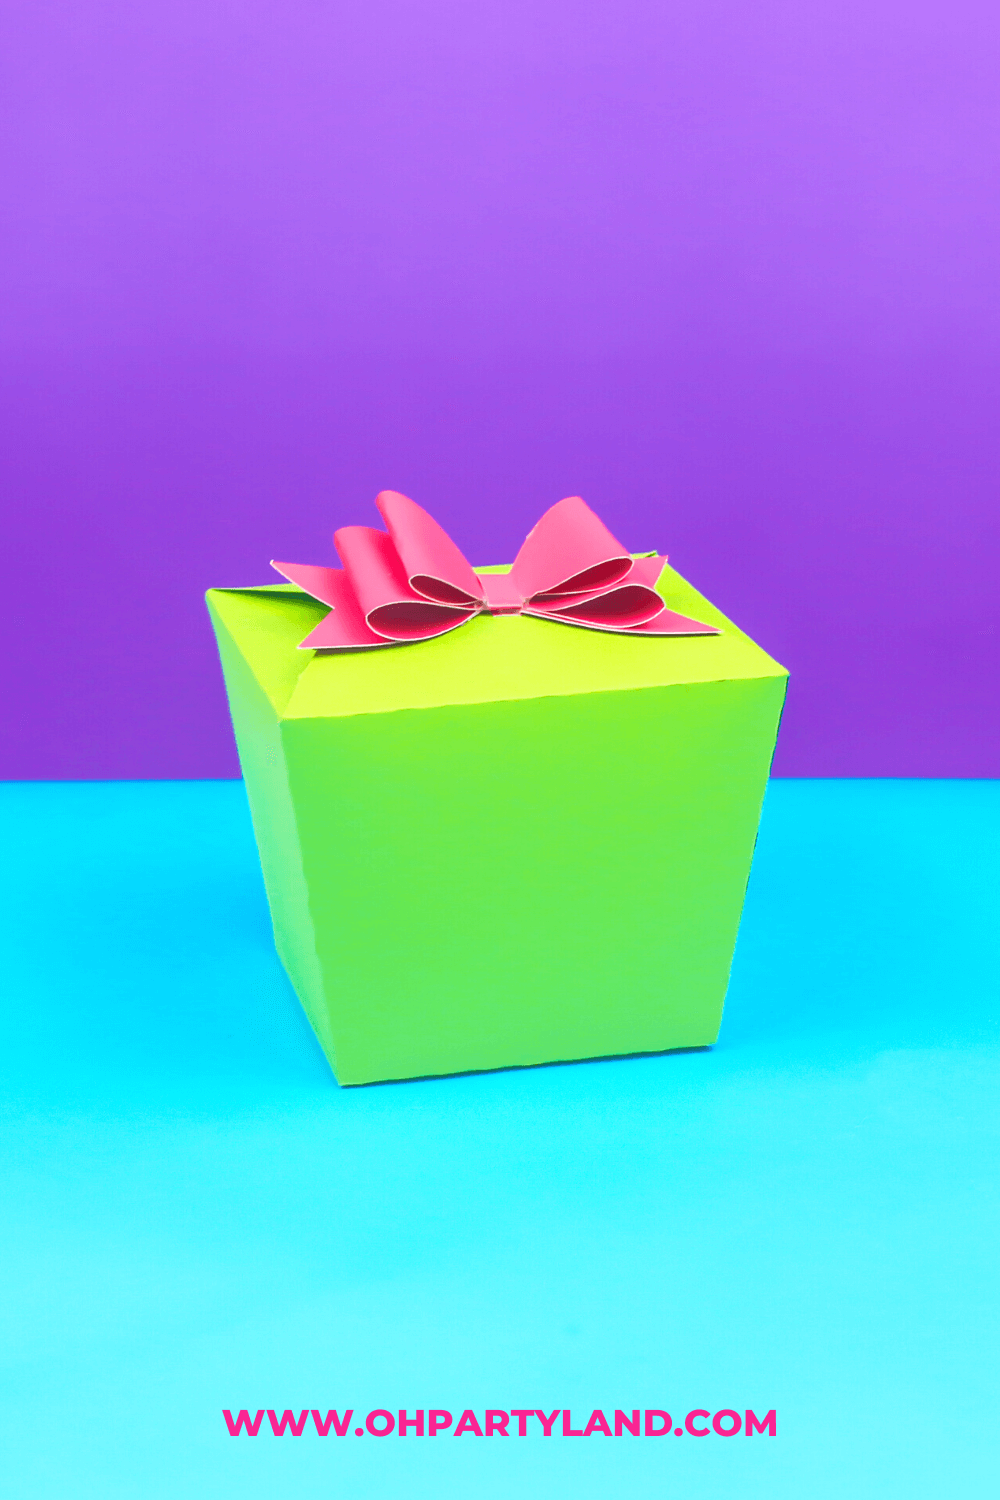
I designed 5 gift boxes templates (Milk Box, Pyramid Box, Vertical Candy Box, Pillow box and Sushi Box) that you can use with your Cricut or Silhouette cameo, or cut by hand.
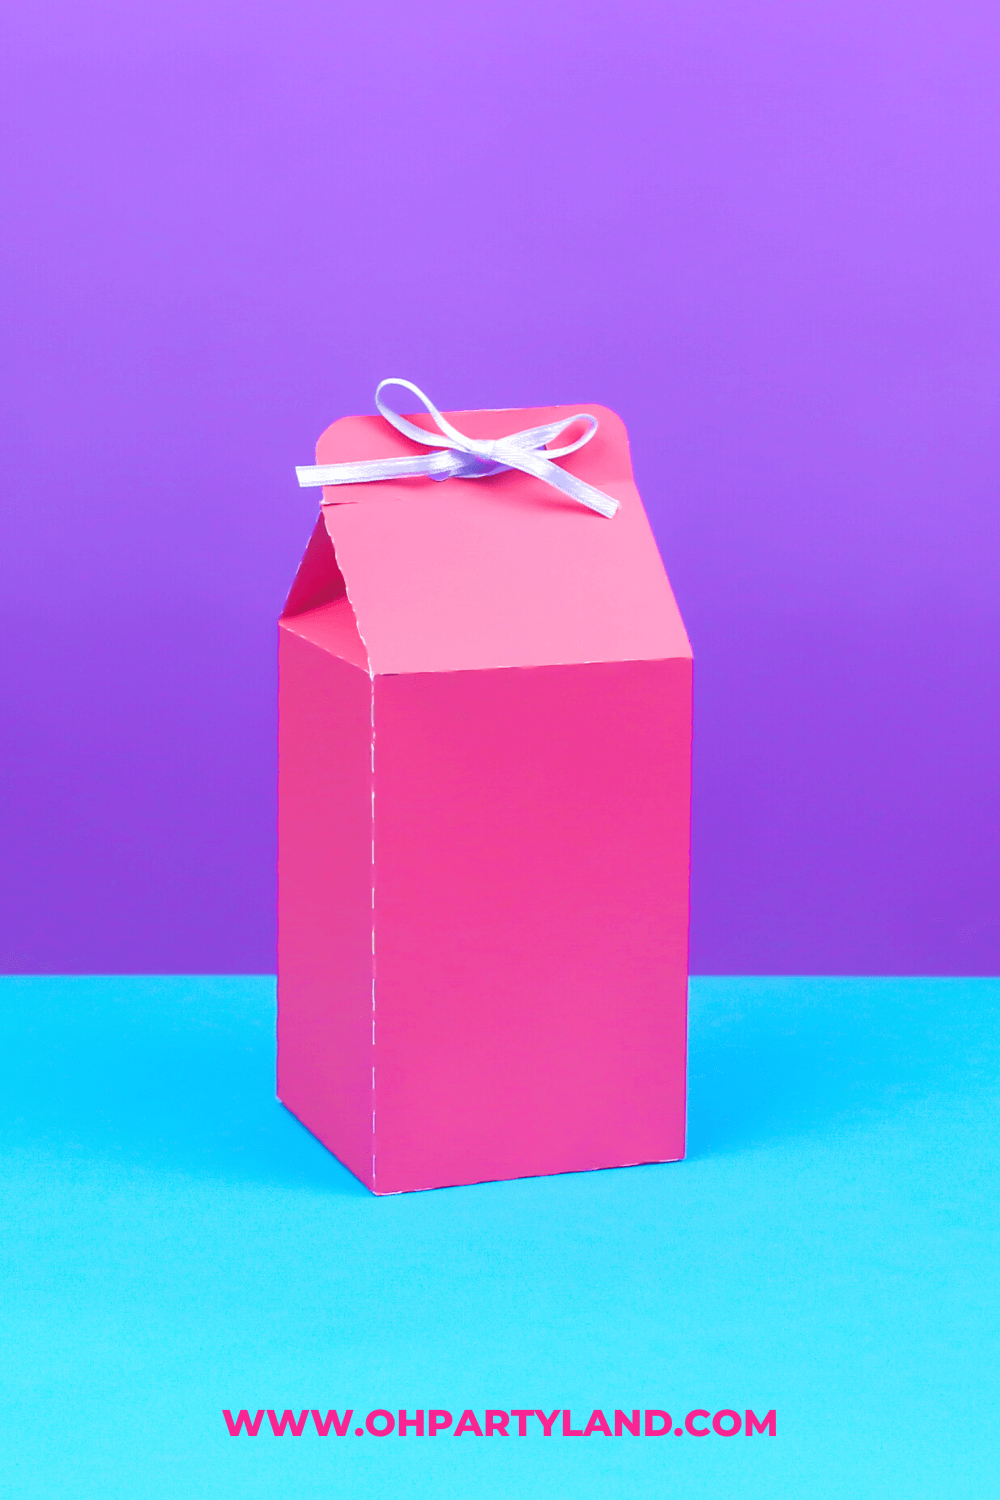

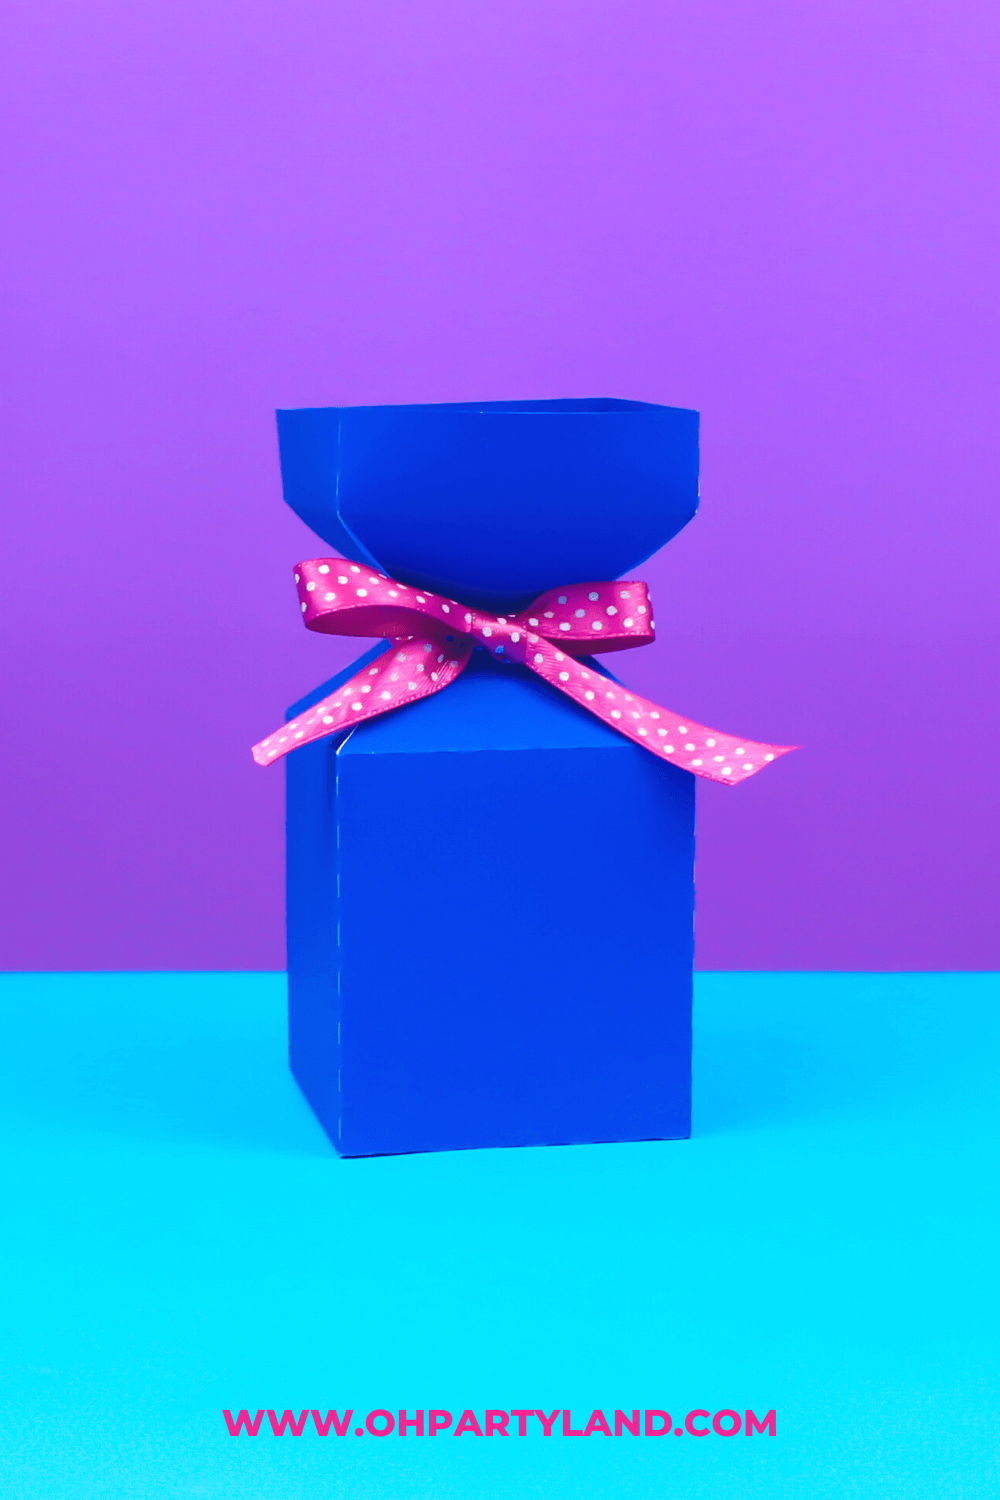
These boxes are also great as favors for any occasion such as birthday parties, baby showers, bridal showers, weddings, graduations parties and more. Just personalize them!
- Cardstocks (Colors of your choice)
- Cutting machine or Scissors and craft knife
- Glue
HOW TO CUT THE TEMPLATES
You can cut the templates by hand or use a cutting
machine such as Cricut or Silhouette Cameo.
BY HAND
Use the PDF files, if you cut by hand.
1. Print out the box template of your choice on cardstock.
2. Cut out the box with scissors and craft knife.
3. Score along the dashed lines using a ruler and bone
folder.
4. Fold all scored edges.
5. Assemble the box.(Watch the video linked below for the tutorial)
6. Fill the box with treats or whatever your heart
desires!
TIP: You can also print out the template on paper,
then trace onto cardstock and cut it out.
CRICUT
- Upload the SVG file in Cricut Design space.
- If you have a scoring wheel or scoring stylus, make sure to use the SVG files with solid lines and remember to set up the score lines, before sending to cut. Check out my tutorial to learn how to set up score lines in cricut design design space.
- The SVG with dashed lines are intended to be cut, so you don’t need any scoring tool.
SILHOUETTE CAMEO
- If you use a silhouette machine, make sure to open the DXF file with dashed lines in silhouette studio. Please check out the import preferences to Open "As is".
HOW TO ASSEMBLE THE BOXESPlay the video below and watch how to assemble the
boxes!
TIPS
- For best results, I recommend 65 lb /
176 gsm up to 100 lb / 270 gsm cardstock.
- If you’re
using one side coated materials like glitter cardstock, foil cardboard or patterned
cardstock, you need to put the cardstock face down on the mat of your cutting
machine.
- The files
come in a zipped folder, you need to unzip or extract the files to your
computer. On a Windows PC, right click the zipped folder and choose Extract
Here or Extract All. On a Mac, just double click the zipped folder to unzip it.
Play the video below and watch how to assemble the
boxes!
TIPS
- For best results, I recommend 65 lb / 176 gsm up to 100 lb / 270 gsm cardstock.
- If you’re
using one side coated materials like glitter cardstock, foil cardboard or patterned
cardstock, you need to put the cardstock face down on the mat of your cutting
machine.
- The files
come in a zipped folder, you need to unzip or extract the files to your
computer. On a Windows PC, right click the zipped folder and choose Extract
Here or Extract All. On a Mac, just double click the zipped folder to unzip it.
There are many ways to customize the boxes, just bring out your creative side! For example, I like to customize the boxes with the name of the birthday girl or boy, when I make party favor boxes.
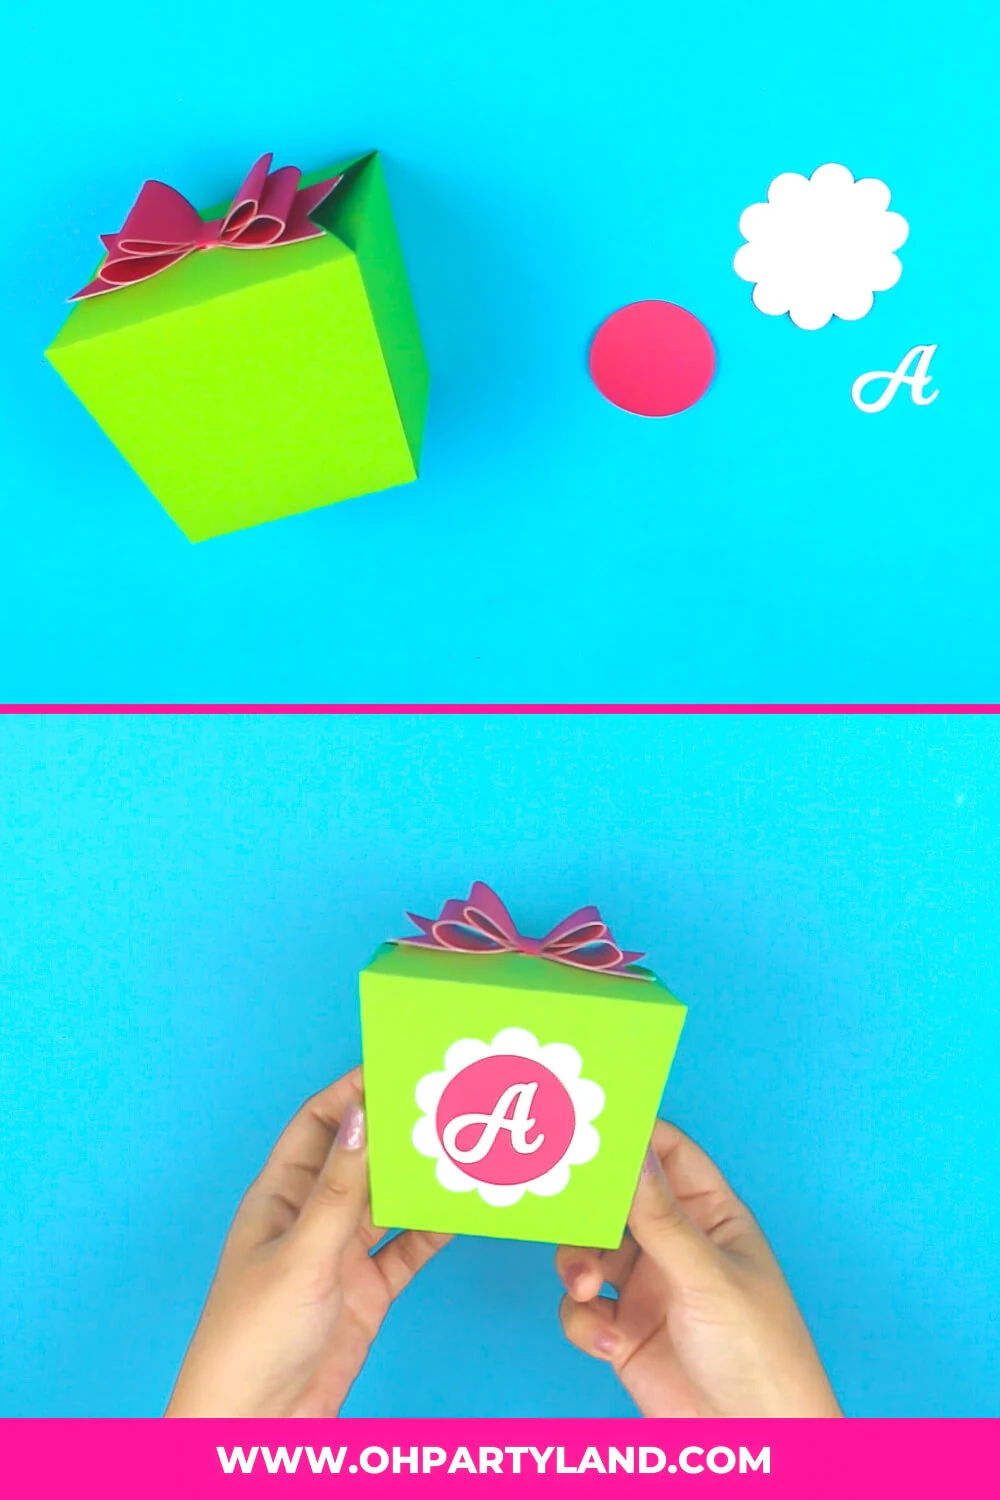
On the other hand, when I make gift boxes, I like to add the initial of the name of the person who is gonna receive it.
Also, I add some embellishments like ribbon bow, stickers, confetti, tags and more.
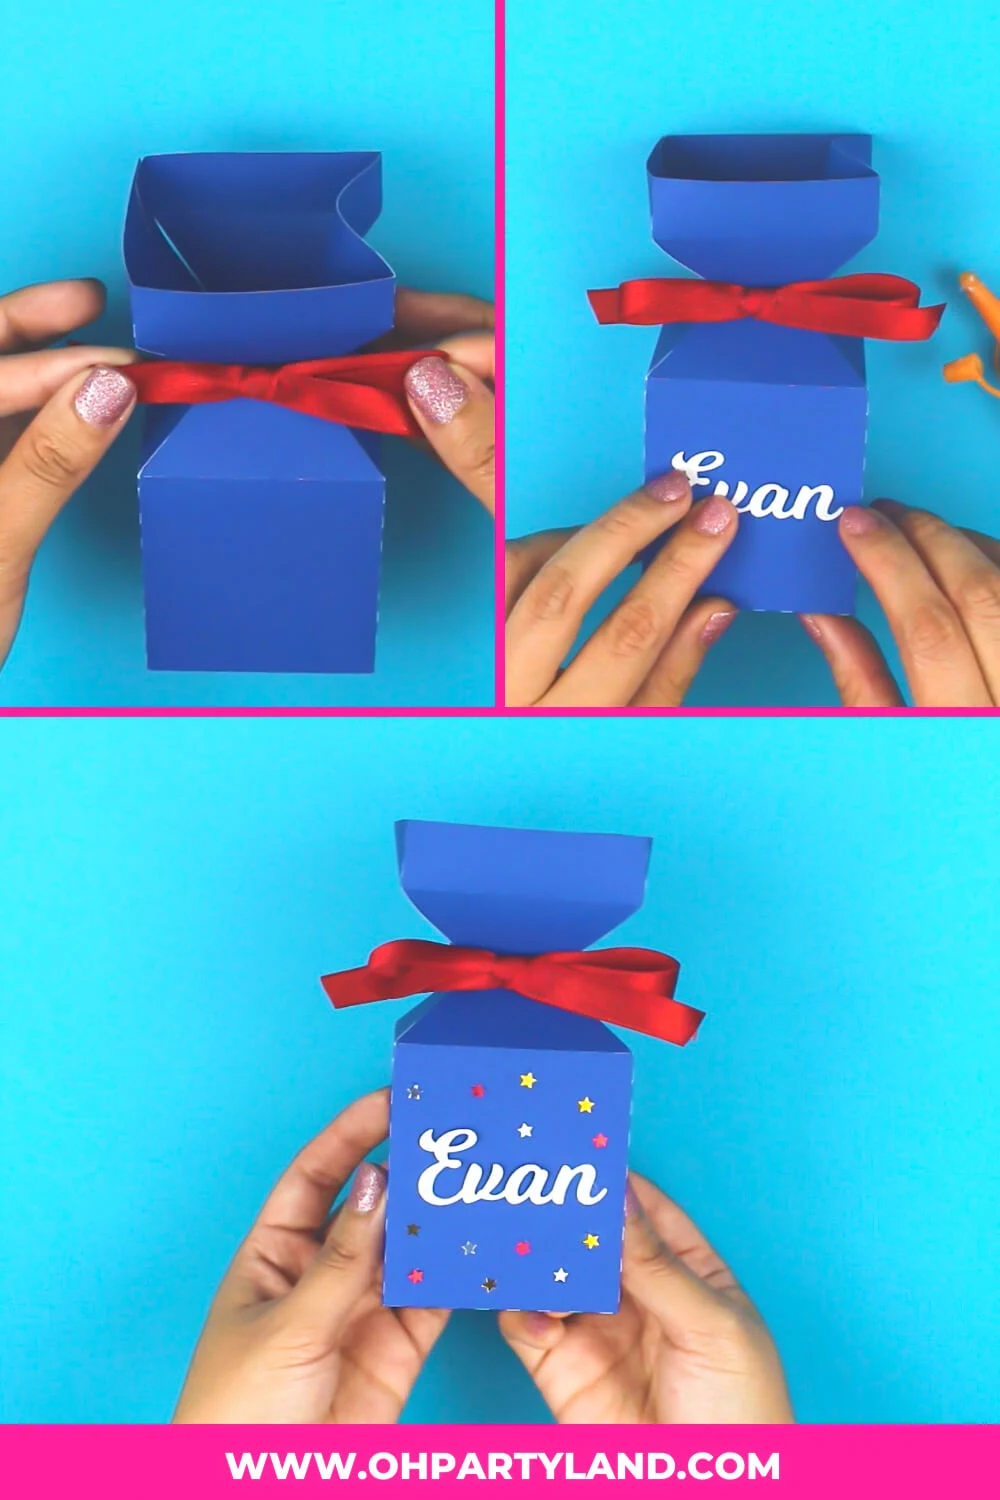
Here, I customized the vertical candy box with a ribbon bow, stars confetti and a name die cut. For the name, I used Milkshake font and finally cut it with my cutting machine.
To customize the sushi box, added some tags and initial name die cut. I also used Milkshake font to cut it with my cutting machine.
FIND BOXES TEMPLATES
Boxes templates set includes Milk Box template, Pyramid Box template, Vertical Candy Box template, Pillow box template and Sushi Box template.
All the boxes templates come in 5 formats (SVG, DXF, EPS,
PNG and PDF files) and you can cut the templates by hand or use a cutting
machine, such as Cricut or Silhouette Cameo. Also, templates include solid and dashed score lines. Check out the templates in my Etsy store or at the bottom of the post
Due to the digital nature of products, I don't accept returns, refunds, exchanges, or cancellations. If you have any problems with your order, please contact Alyssa at hello.ohpartyland@gmail.com. View my shop policies.
If you have any questions or doubts, feel free to ask me. See you in the next DIY!


Post a Comment