

Hello!
In today’s tutorial, I'll show you how to add a
pattern to your design in cricut design space.
For this tutorial, I’m going to use a box template, but you can add a pattern or background in any of your projects.
Before starting with the tutorial, let me tell you there
are two options you can do it. One option is using the slice tool and
the other is with the “Pattern fill” option. I'm going to show you how to do it
both ways, so you can choose the one you like the most.
OPTION 1: USING THE SLICE TOOL
Instructions
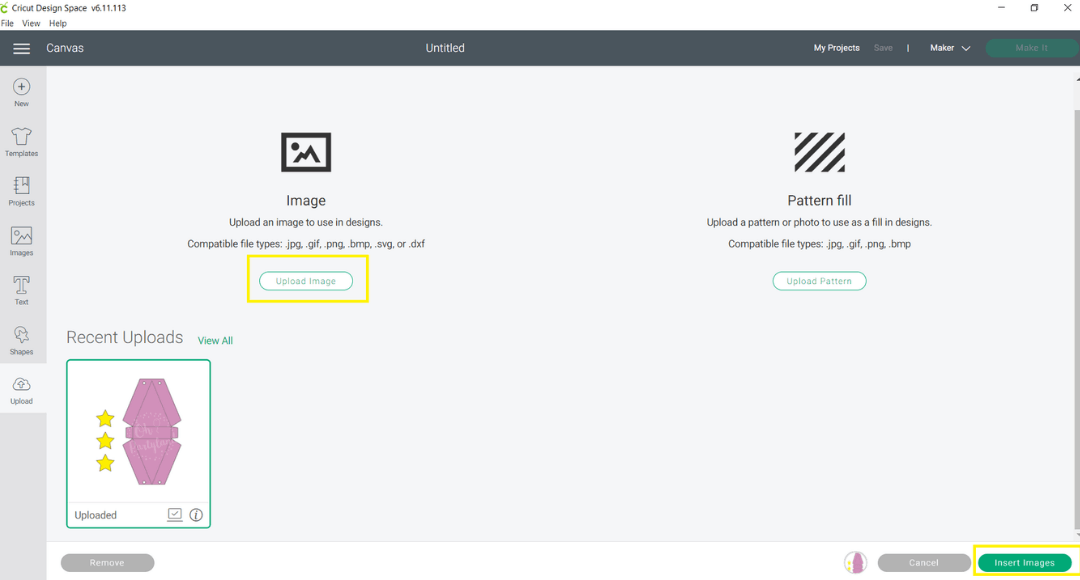
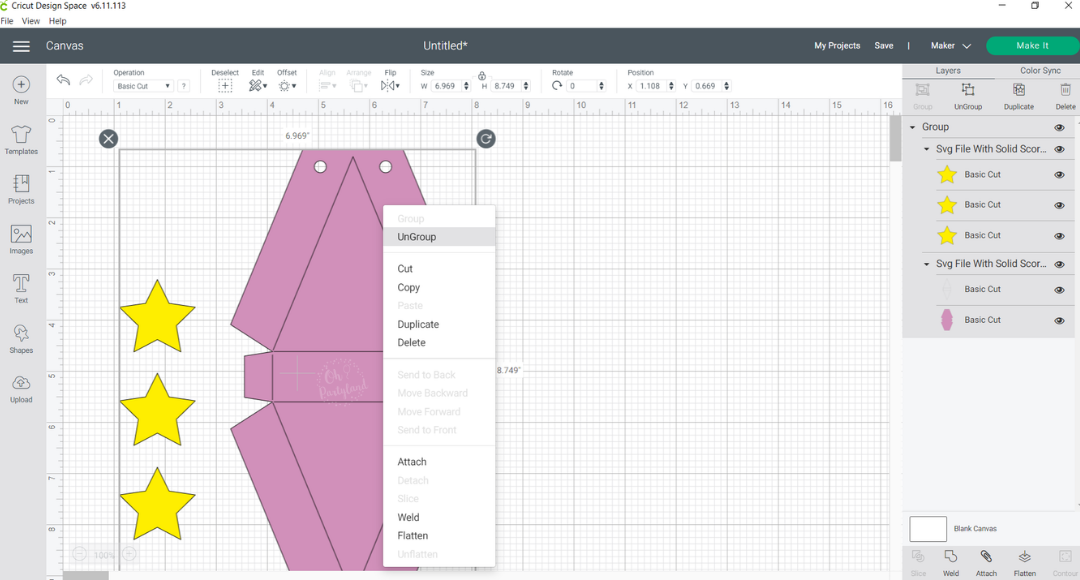
1. First, upload and insert your SVG file with solid
score lines.
2. Ungroup the file (right-click).
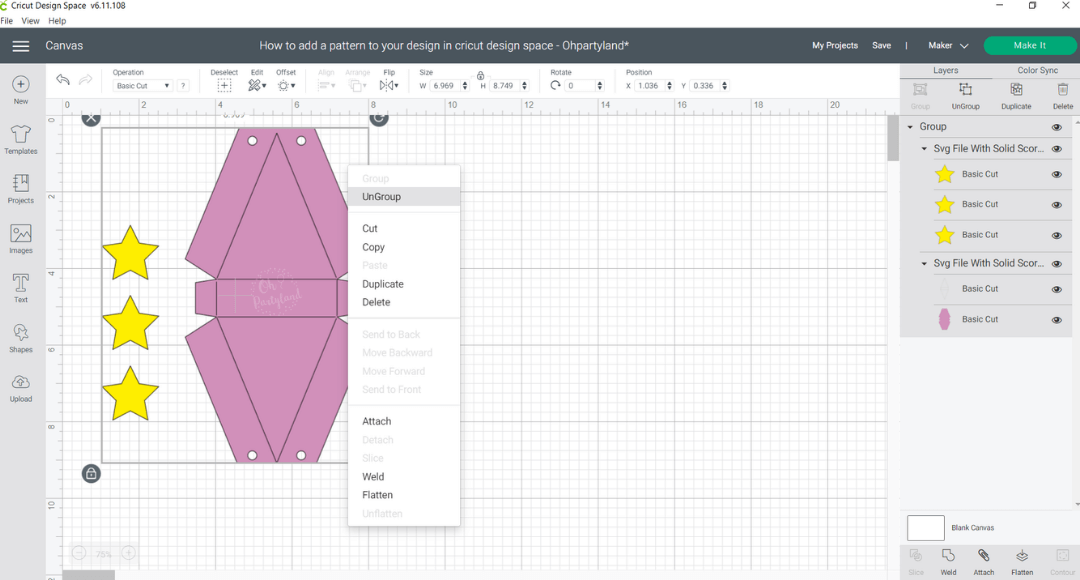
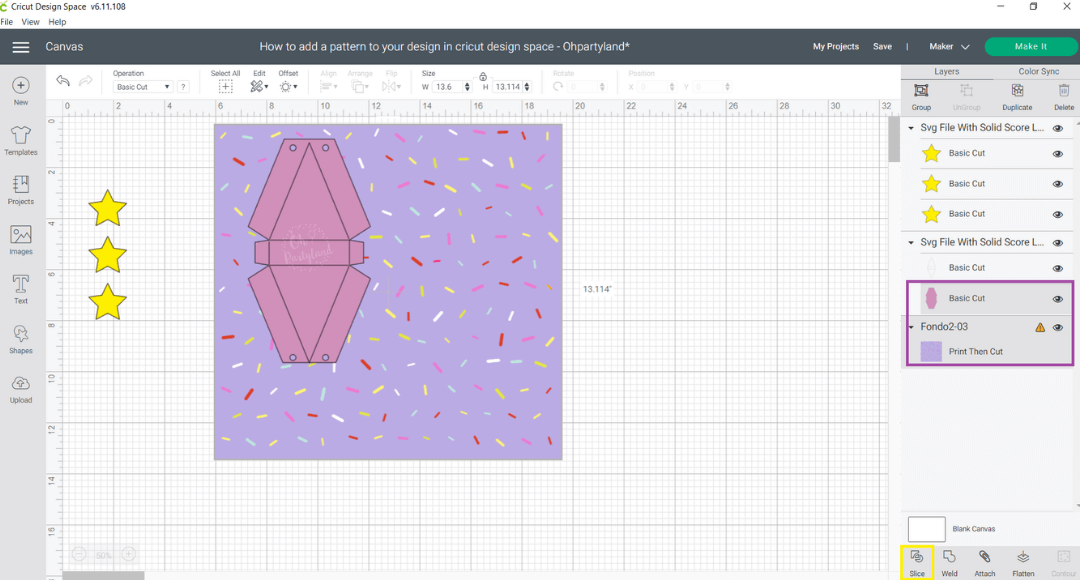
3. After that, upload the pattern or background of
your choice. Then, you need to align the box and the pattern together. Select
both of them (Please note you only need to select the box and pattern, not the
lines to score) and click "Slice" (The option in the bottom right
highlighted in the yellow box).
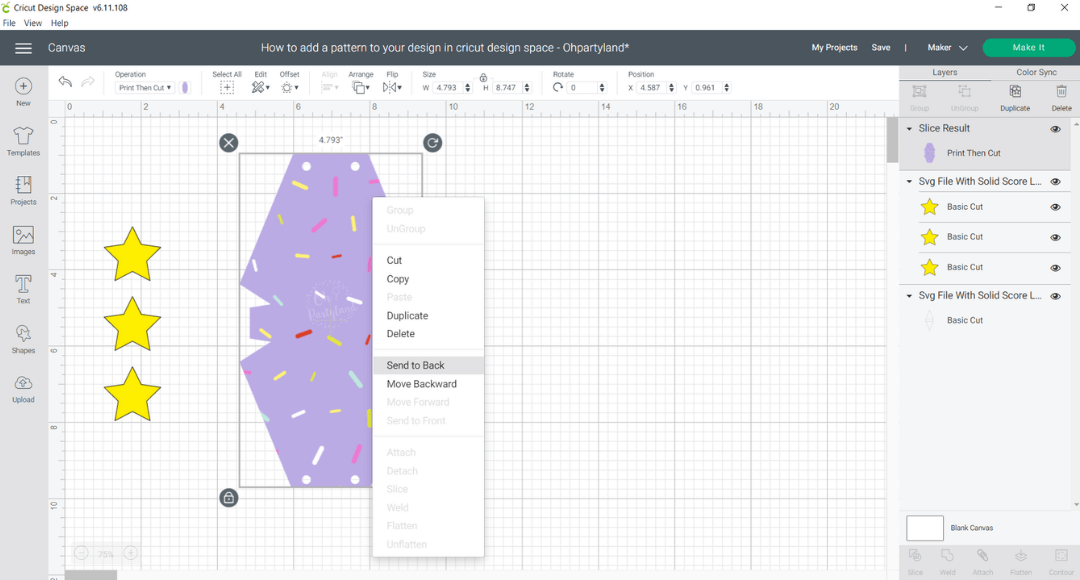
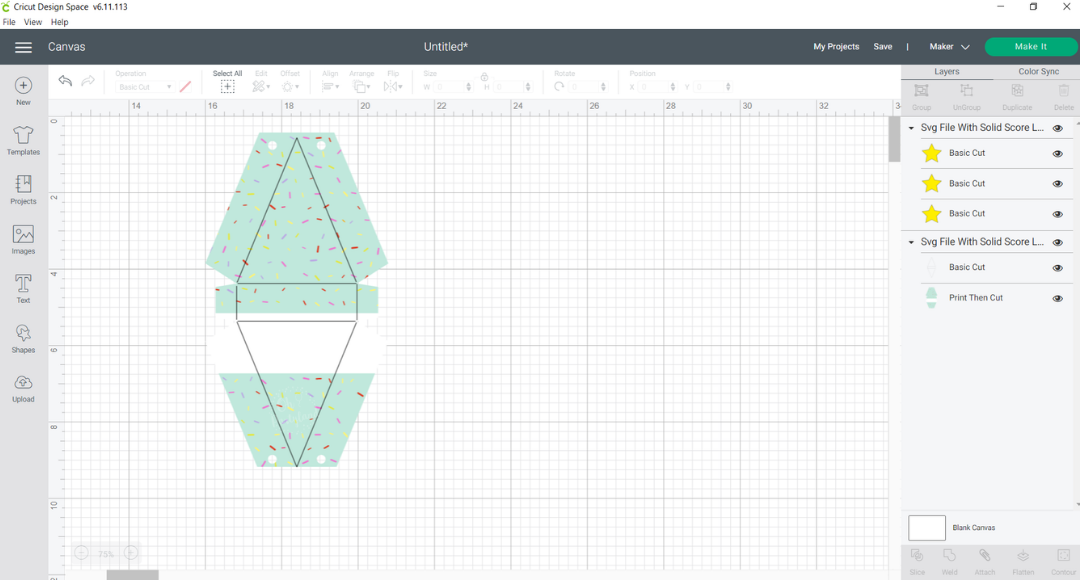
4. Then separate the pieces and delete the others.

5. Right click on your new design and select “Send to
back”.
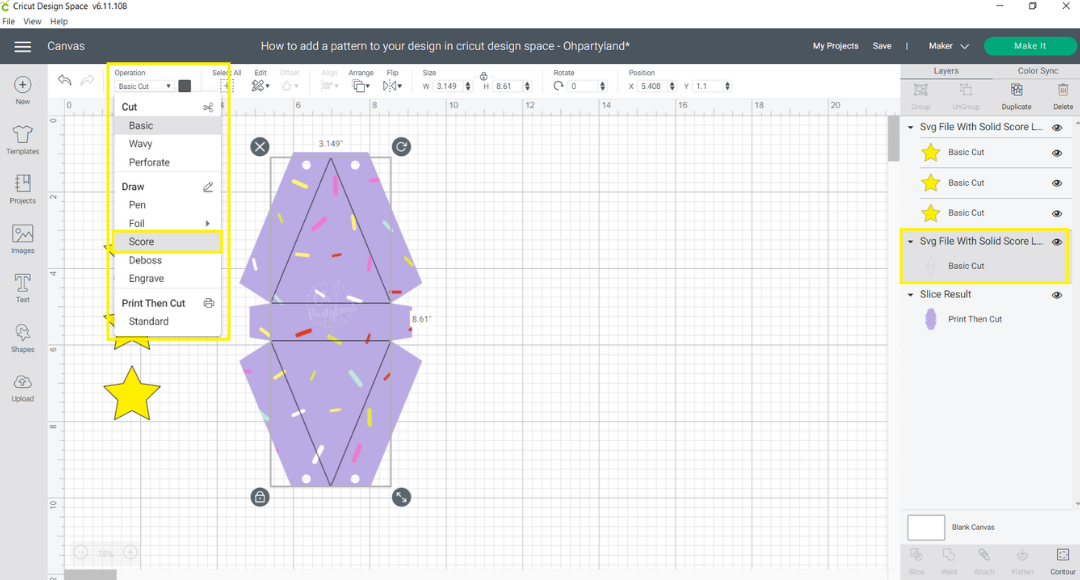
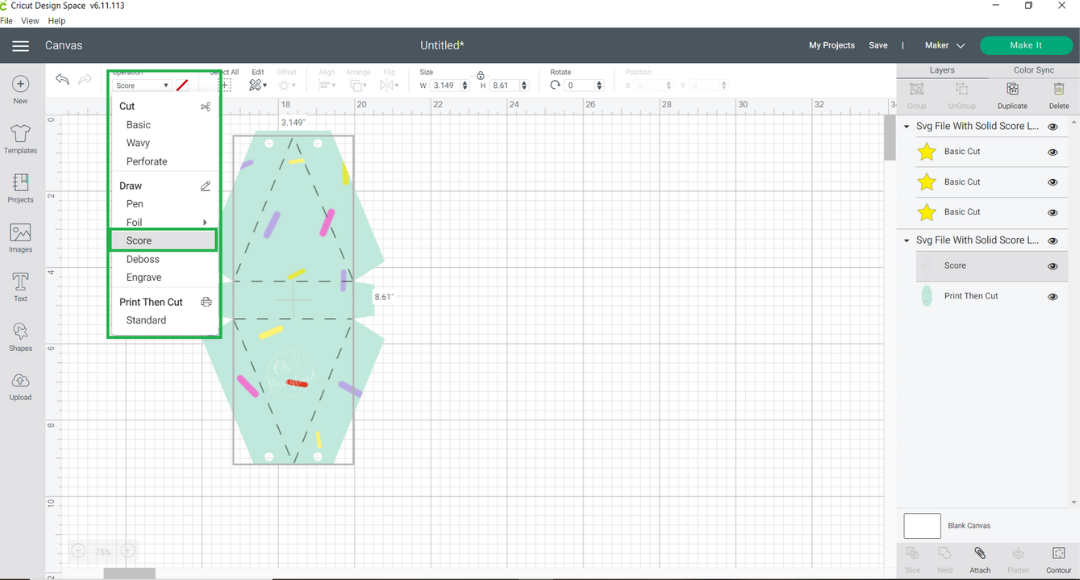
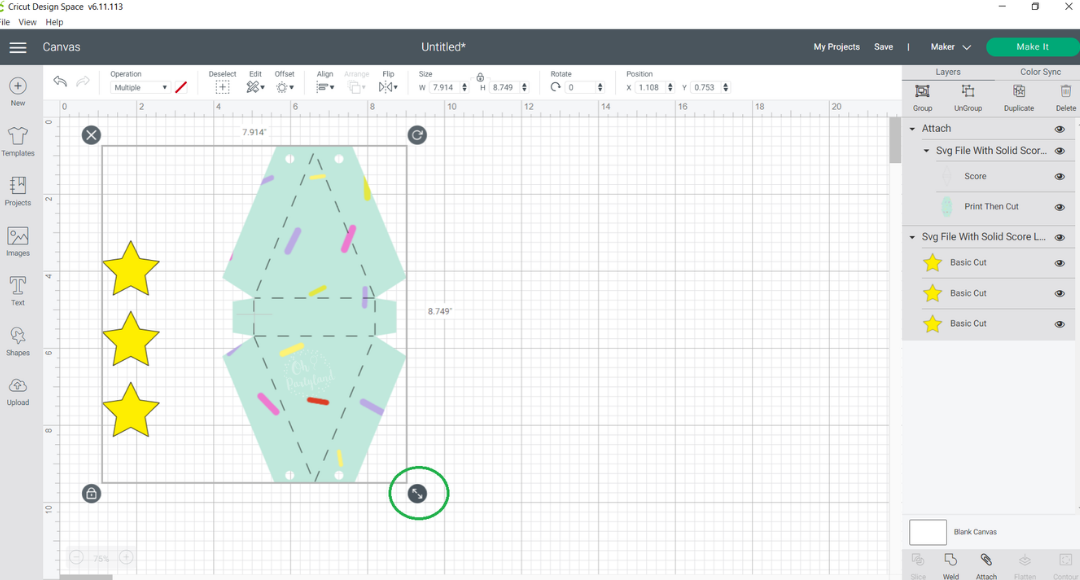
6. Now, you need to set up the score lines. Select the
solid lines, go to operation and set up the score lines.
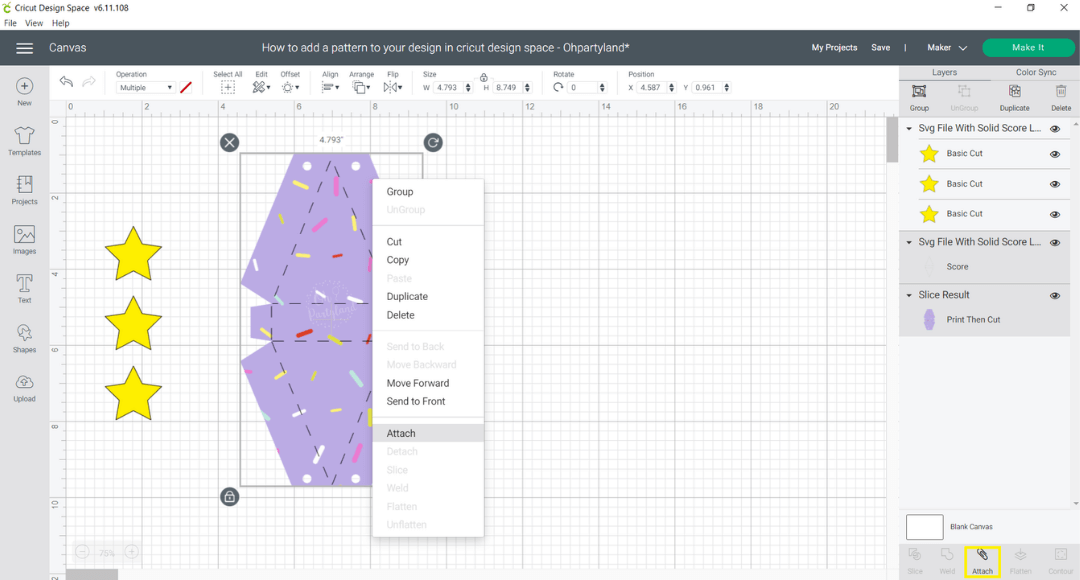
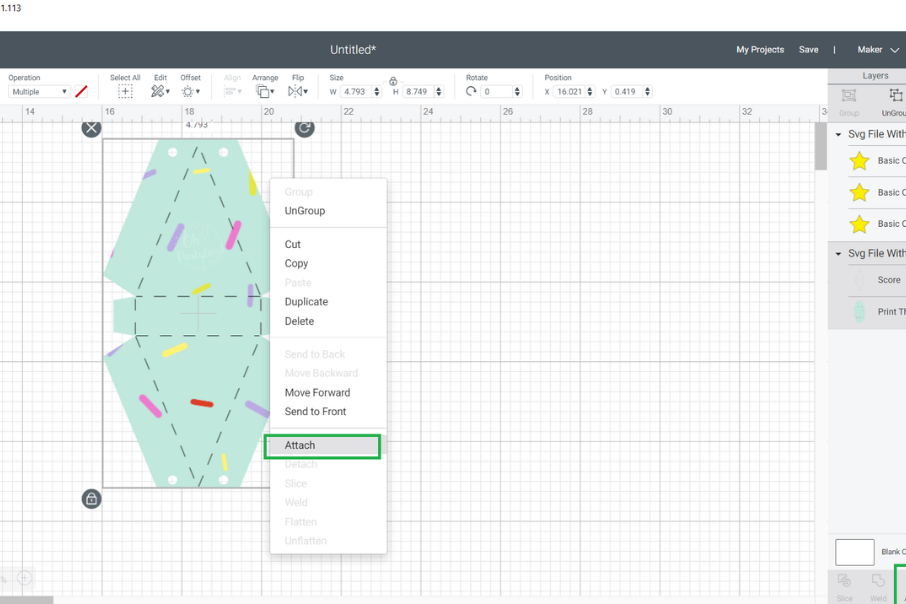
7. Once you have set the score lines, you need to
attach the pieces. To attach, select the box and the score lines, press right
click and select "attach". Note: if your project has different pieces
to score, you will have to set up the score lines of each piece.
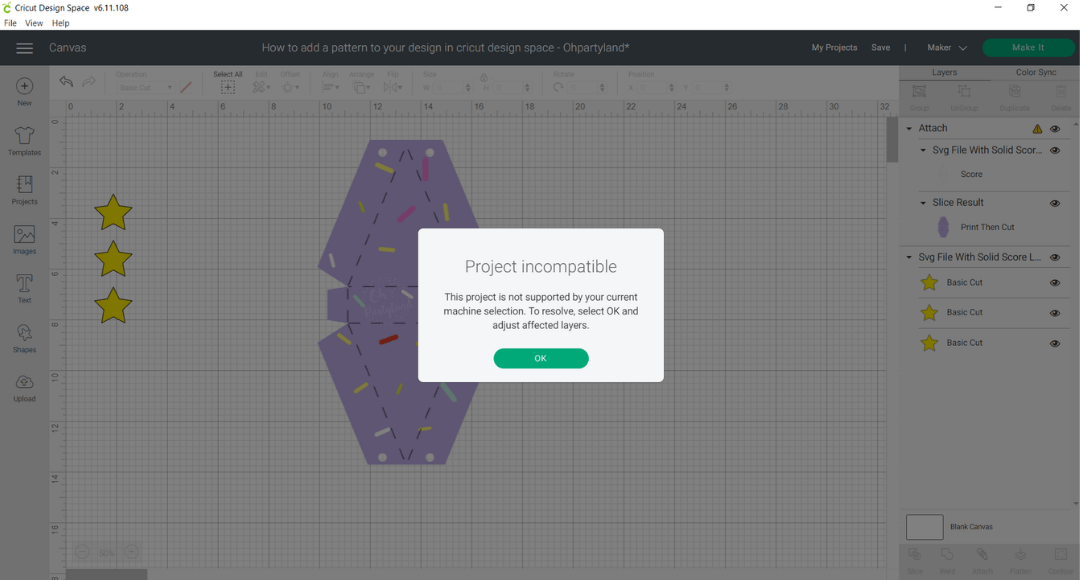
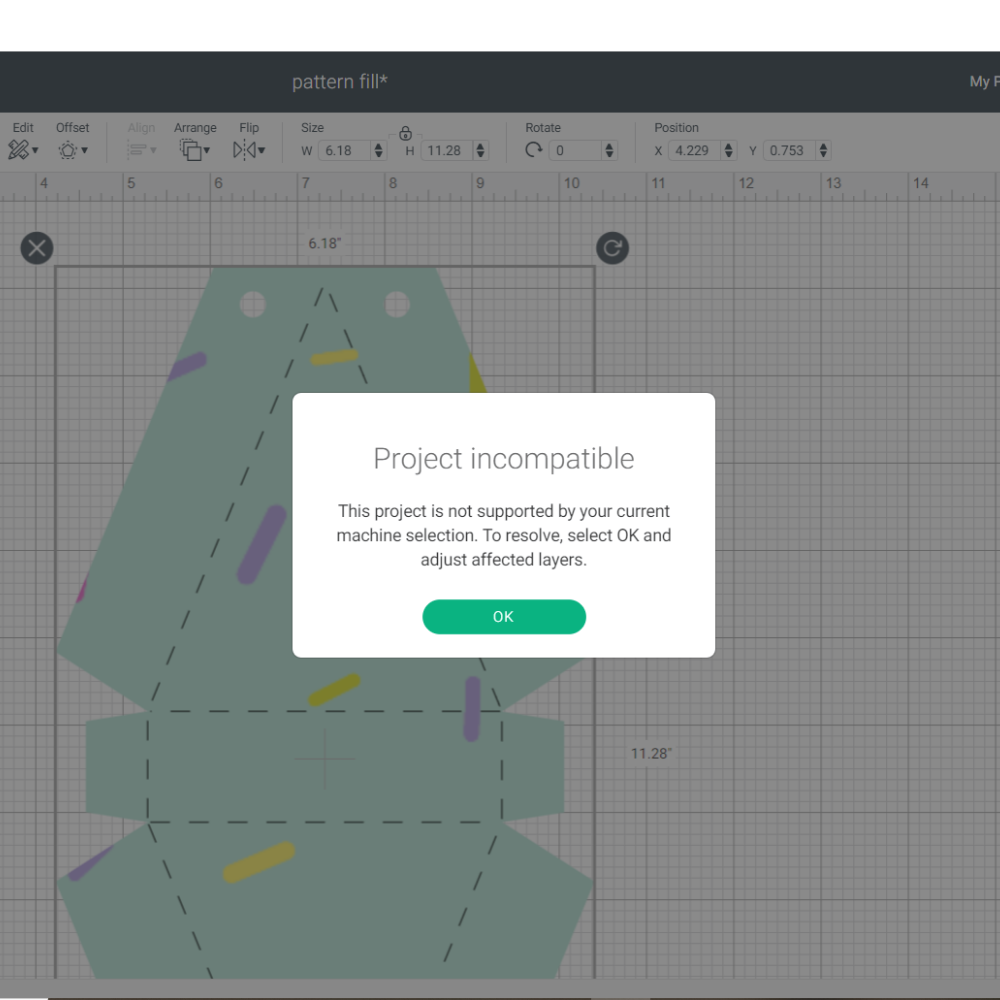
8. Sometimes, the message in the image below will
appear. This happen when your box is bigger than the format of Print then Cut,
so you need to resize the project.
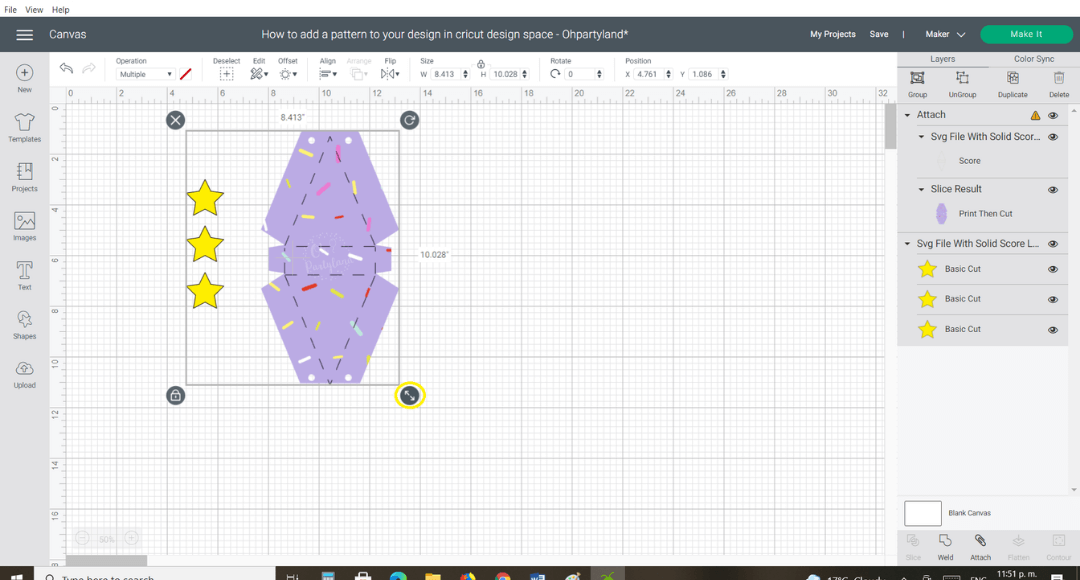
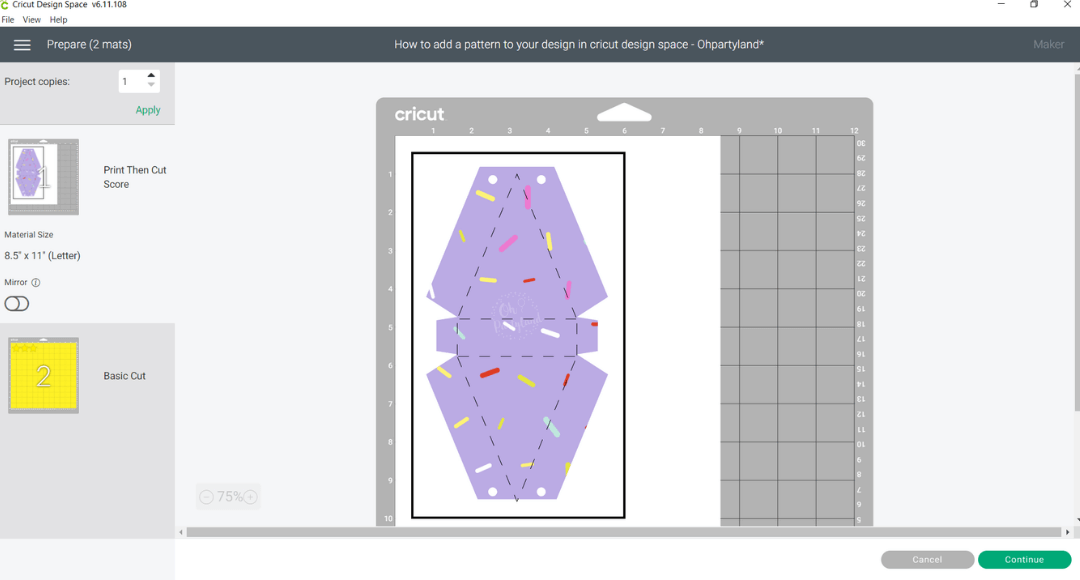
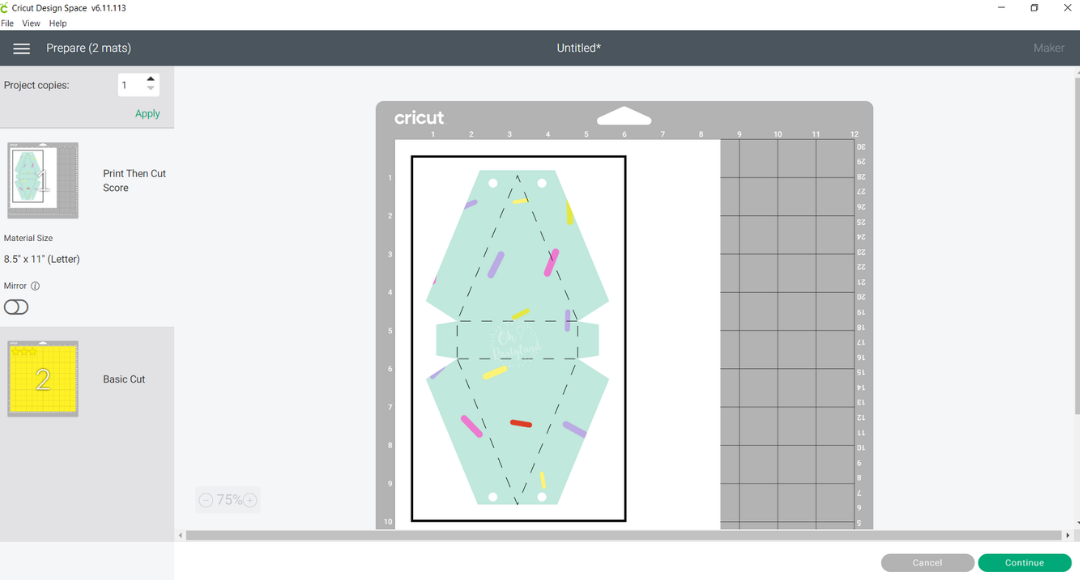
9. Select all the pieces of your project and resize them
until they fit to the print then cut format (6.75” x 9.25”).
10. Finally, your box is ready to print then cut!
OPTION 2: PATTERN FILL OPTION
Steps
1. Upload your pattern.
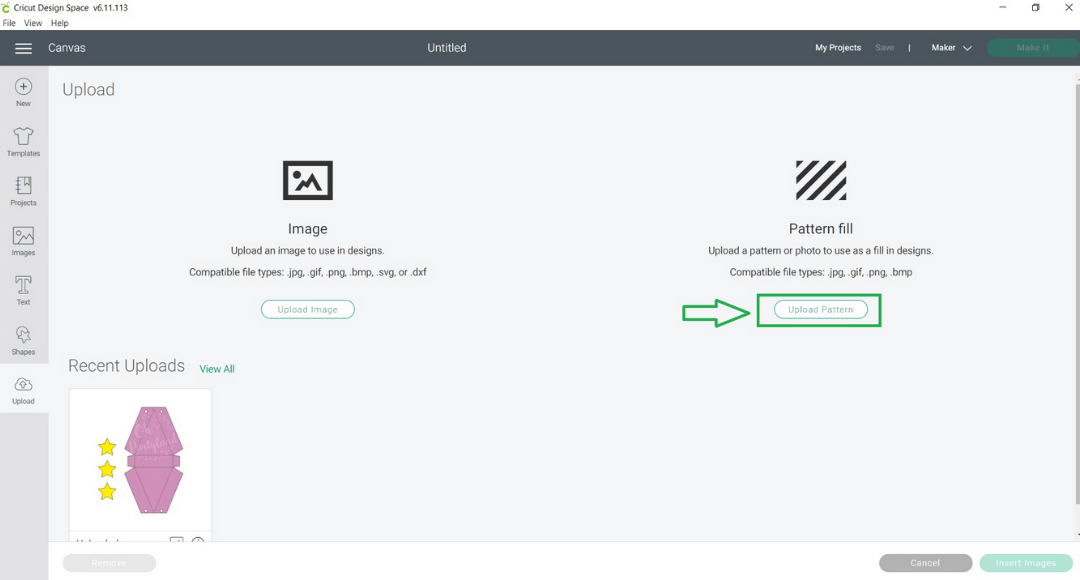
2. After you upload your pattern, you will see a
preview of the pattern. In the image below, you can see my pattern doesn’t fill
all the space (Highlighted in green). I recommend using a pattern that fills all
the space to make it easier to customize. Tip: I’ve found out that an JPG image pattern works well with this option.

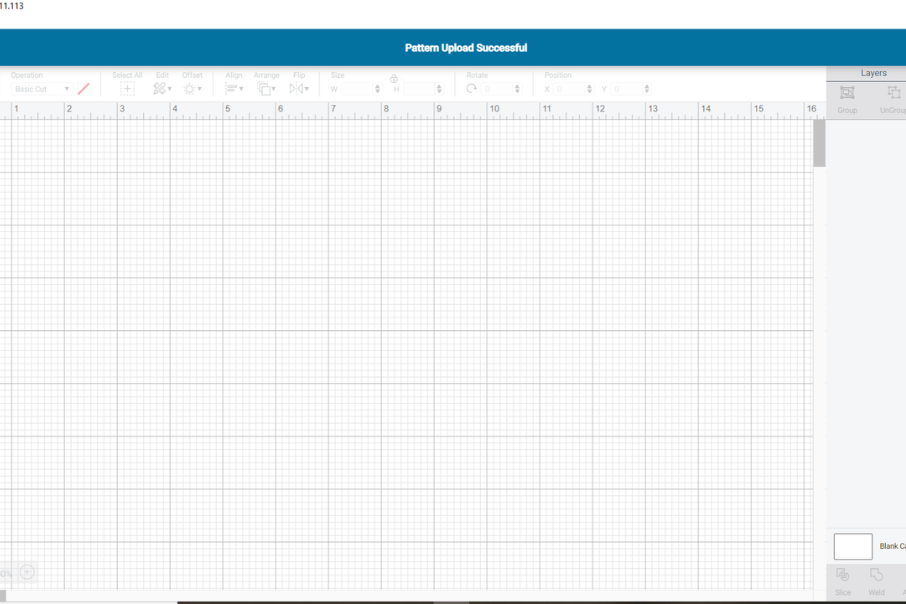
Click on the upload button and make sure the message in the image below appears.
3. Now, upload and insert your box template or design.
If you use a box template, I recommend using SVG file with solid score lines.
Right click to ungroup the file.
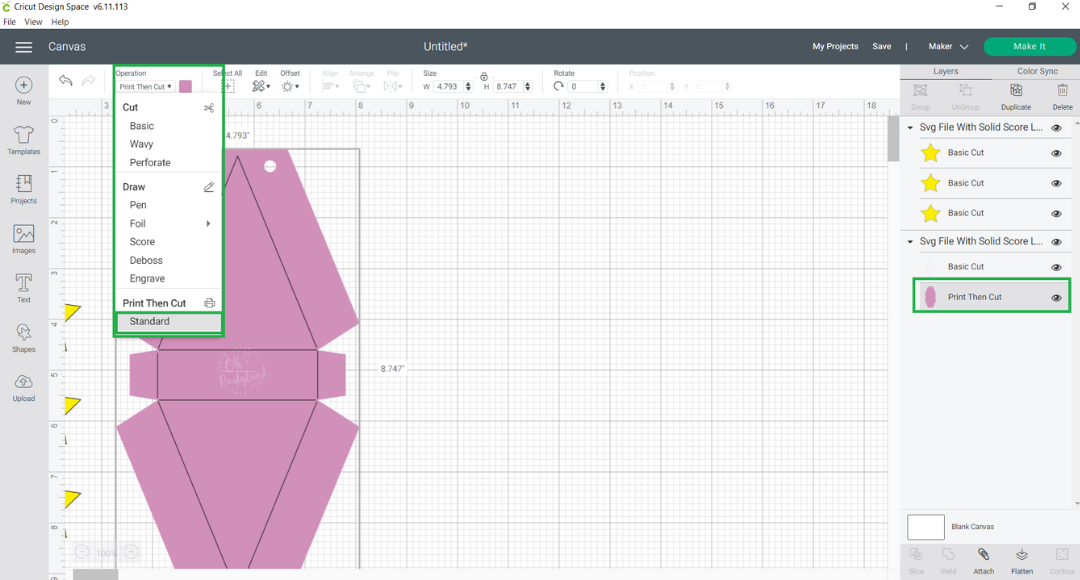
4. Select the box, go to operation and click on “Standard”
(Please note, you only need to select the box, not the lines to score)
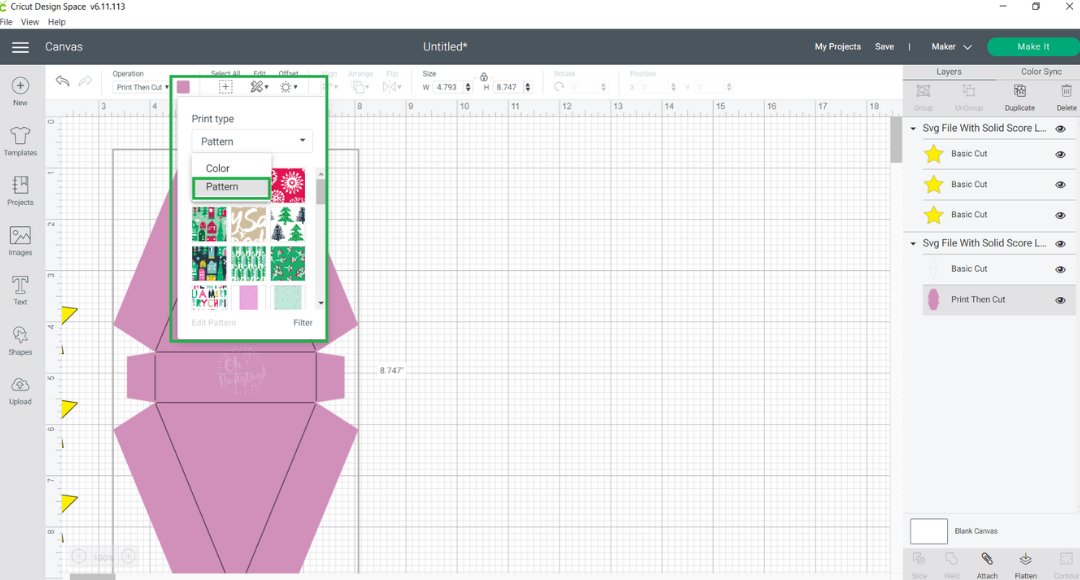
5. Click on the colored square (The pink square in the
image below) and choose the pattern option. Find and click on your pattern of
your choice.
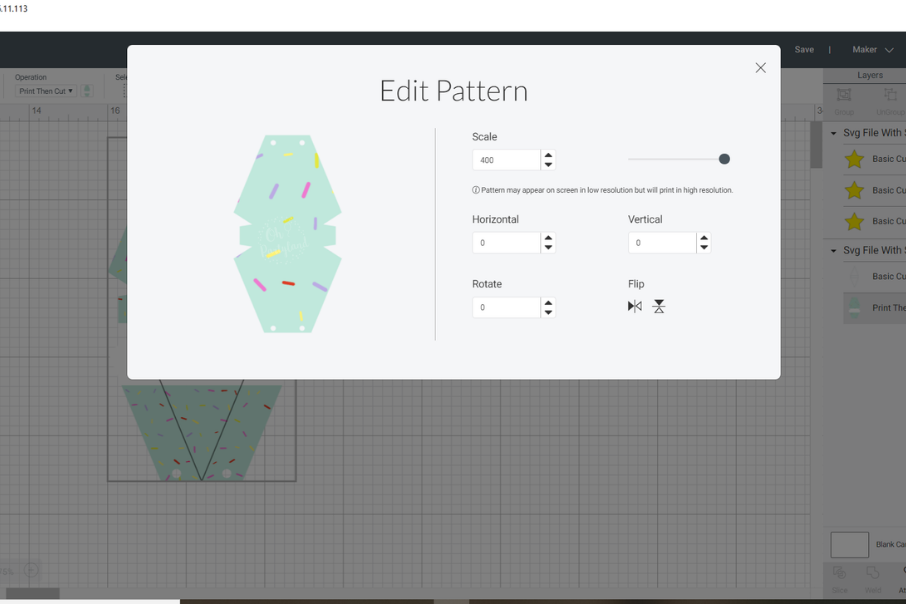
6. As you can see in the image below, my box is not
completely filled. This happens because of what I mentioned in the step 2.
However, we only need to edit the pattern. Click on edit pattern highlighted in green.
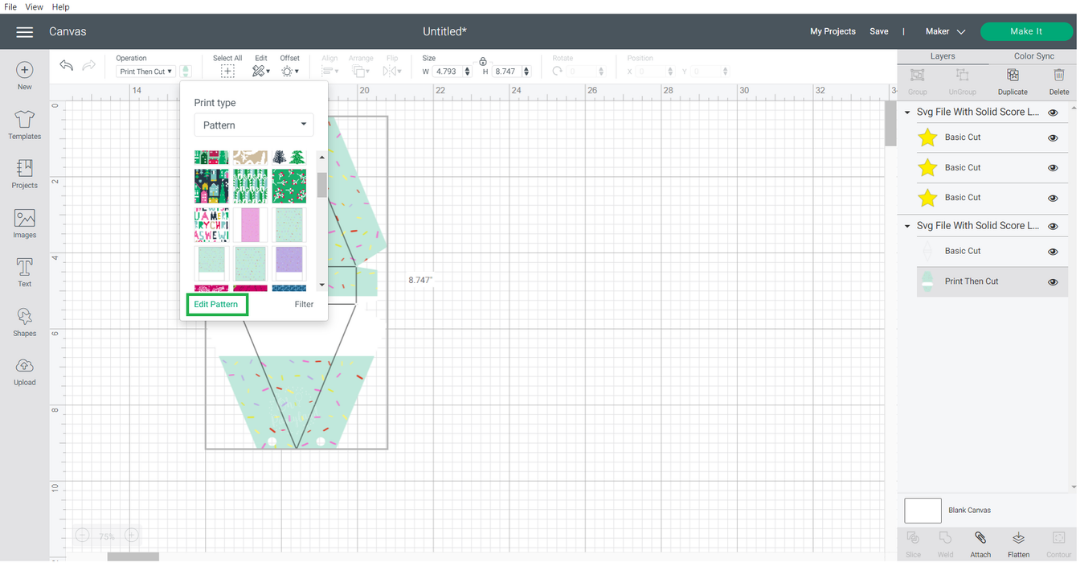
Change the scale until the pattern fill your box.
7. Now, set up the score lines. Select the solid
lines, go to operation and click on ‘score”.
To attach, select the box and the score lines, press
right click and select "attach". Note: if your project has different
pieces to score, you will have to set up the score lines of each piece.
8. Sometimes, the message will appear: ” Project incompatible” This happen when your box is bigger than the format of Print then Cut, so you need to resize the project.
To resize, select all the pieces of your project and resize them until
they fit to the print then cut format (6.75” x 9.25”).
9. Your box is ready to print then cut and score!
Which option do you prefer to use? I like to use the
slice tool because I’ve had some issues with the “Pattern fill” option after
the last update in design space, so I’d rather use the slice tool even if it
takes a little bit longer.


Post a Comment